
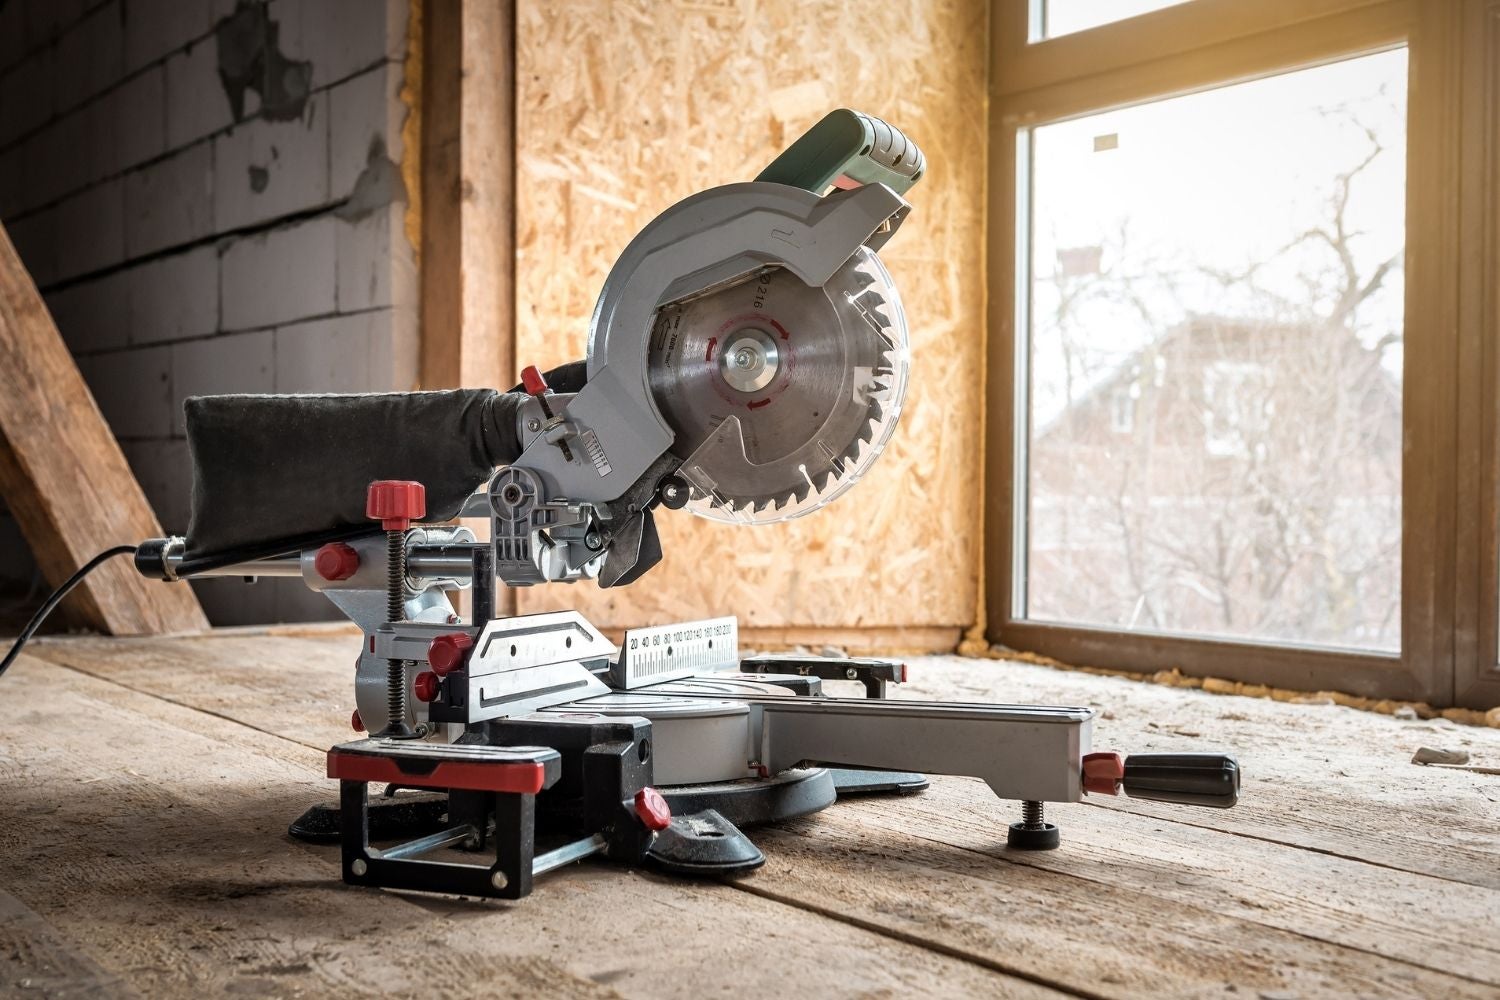
Concerning carpentry and Do-It-Yourself projects, the miter saw is one of the critical tools in any enthusiast’s arsenal. This adaptable apparatus permits you to make exact cuts at different points, making it indispensable for framing, trimming, and furniture-building tasks.
However, as you delve into miter saws, the common question is, “Are miter saw blades universal?” In other words, can you use any miter saw blade with any miter saw, or do you need to consider compatibility?
Types of Miter Saw Blades
Miter saw blades come in various types and designs, each tailored for specific cutting tasks and materials. Here are some common types of miter saw blades:
Crosscut Blades: These blades are designed for making clean, precise cuts across the grain of wood. They typically have many teeth, often 60 to 80 or more, and feature a high tooth bevel angle for smoother crosscuts.
Rip Blades: Rip blades are engineered for cutting wood along the grain, making them ideal for ripping boards or creating straight, long cuts. They have fewer teeth than crosscut blades, usually between 24 and 40 teeth, with deep gullets to quickly remove material.
Combination Blades: Combination blades are versatile and suitable for cutting tasks, including crosscutting and ripping. They typically have a balanced tooth configuration with 40 to 50 teeth, making them a good choice for general woodworking.
Fine-Finish Blades: These blades are designed to create exceptionally smooth and polished cuts in wood, reducing the need for additional sanding. They have a high tooth count, often exceeding 80 teeth, and produce clean, splinter-free cuts on hardwoods and laminates.
Miter Saw Blades for Metals: Blades specifically designed for cutting metal, such as aluminum or non-ferrous metals, have specialized tooth geometry and coatings to minimize heat buildup and extend blade life. They are available in various tooth configurations to suit different metal-cutting needs.
Masonry Blades: For cutting through materials like concrete, brick, or tile, masonry blades are essential. These blades have abrasive or diamond-tipped teeth that can withstand the hardness of masonry materials.
Dado Blades: Dado blades consist of two or more blades stacked together to create grooves, dadoes, or rabbets in wood. Woodworkers use dado blades to make precise and comprehensive cuts for joinery or shelving.
Composite Blades: Composite blades are designed for cutting composite materials, such as laminates, plastics, and engineered wood products. They have unique tooth geometries and coatings to minimize chipping and heat generation.
General-Purpose Blades: These blades are designed to handle various cutting tasks and materials, making them suitable for those who require versatility in their woodworking or construction projects. They typically have 24 to 60 teeth and can perform adequately across different applications.
Specialty Blades: Specialty blades are designed for specific tasks, such as cutting acrylic, melamine, or certain plastics. These blades have unique tooth configurations and coatings optimized for the material they are intended to cut.
Blade Size and Compatibility of Miter Saw Blades
Blade size and compatibility are critical considerations when selecting a miter saw blade. Choosing the right blade size and ensuring it is compatible with your miter saw will directly influence the nature of your cuts and the, generally speaking, performance of your saw. Here’s what you need to know:
Blade Size
Diameter: The diameter of a miter saw blade refers to the size of the blade itself. Standard blade diameters for miter saws range from 7 to 12 inches, although larger blades are available for specialized applications.
Arbor Size: The arbor size is the diameter of the hole in the blade’s center that fits onto the miter saw’s arbor (the spindle). Standard arbor sizes for miter saws are 5/8 inches and 1 inch. It’s crucial to match the arbor size of the blade with the arbor size of your miter saw.
Compatibility
Miter Saw Type: Different miter saws may have specific blade sizes and arbor requirements. Always refer to your miter saw’s manual or specifications to ensure you choose a blade compatible with your saw type.
Manufacturer Recommendations: Many miter saw manufacturers recommend the blade size and type that work best with their saws. Following these recommendations ensures optimal performance and safety.
Tooth Configuration: Ensure that the tooth configuration of the blade is suitable for the type of cuts you plan to make. For example, choose a crosscut blade for clean crosscuts or a ripping blade for ripping tasks.
Material Compatibility: Consider the type of material you will be cutting. If you intend to cut wood, a general-purpose wood blade will suffice. However, if you plan to cut metal, plastic, or other materials, choose a blade specifically designed for that material.
Blade Speed: Check the maximum allowable blade speed for your miter saw. The blade you select should have a compatible rotational speed rating. Exceeding the maximum speed can be dangerous and lead to blade failure.
Tooth Count: The tooth count of the edge determines the quality and type of cut it will produce. Blades with higher tooth counts are typically better for fine woodworking, while those with fewer teeth are better suited for ripping tasks. Match the tooth count to your specific cutting needs.
Blade Thickness: The thickness of the sharp edge can influence the width of the cut and the amount of material removed. Ensure that the blade thickness is compatible with your saw’s capacity.
Specialized Blades: For specific applications, such as cutting laminate flooring, melamine, or non-ferrous metals, you may need specialized blades with specific tooth configurations and coatings. Ensure compatibility with your saw and material.
Tooth Configuration and Material Compatibility of Miter Saw
Tooth configuration plays a crucial role in determining the quality of cuts, and the suitability of a miter saw blade for specific materials. Different tooth configurations are designed to excel in various cutting tasks and materials. Here’s a breakdown of tooth configurations and their compatibility with different materials when using a miter saw:
- Alternate Top Bevel (ATB) Teeth
- Material Compatibility: ATB teeth are versatile and reasonable for many materials, making them a common choice for general-purpose blades. They work well with wood (hardwood, softwood), plywood, particleboard, and MDF.
- Cut Type: ATB teeth provide clean crosscuts and rip cuts in wood, producing minimal splintering or tear-out.
- Triple-Chip Grind (TCG) Teeth
- Material Compatibility: TCG teeth are designed for more rigid materials, such as hardwoods, laminates, melamine, and non-ferrous metals like aluminum and brass. They are ideal for cutting materials with abrasive surfaces.
- Cut Type: TCG teeth produce smoother cuts in hardwoods and excel at cutting laminate materials without chipping.
- Flat-Top Grind (FTG) Teeth
- Material Compatibility: FTG teeth are primarily used for ripping through wood along the grain. They are suitable for hardwoods, softwoods, and pressure-treated lumber.
- Cut Type: FTG teeth excel at ripping cuts, providing efficient material removal with fewer teeth.
- High Alternate Top Bevel (Hi-ATB) Teeth
- Material Compatibility: Hi-ATB teeth are designed for fine woodworking and materials that require exceptional finish quality. They work well with hardwoods, plywood, and veneered materials.
- Cut Type: Hi-ATB teeth produce extremely clean crosscuts and are ideal for applications where a polished finish is essential.
- Hook Angle
The hook angle of the teeth also affects material compatibility. Positive hook angles (e.g., 5 to 15 degrees) are suitable for fast and aggressive cuts in materials like softwood. Negative hook angles (e.g., -5 to -10 degrees) are better for smoother, controlled cuts in hardwoods and laminates.
- Tooth Count
The number of teeth on the blade also influences the cut quality and speed. Blades with higher tooth counts (e.g., 80 or more) produce finer cuts, while blades with fewer teeth (e.g., 24 to 40) are better for faster cuts but may leave a rougher surface.
- Specialized Blades
Some miter saw blades have specialized tooth configurations and coatings for specific materials. For example, blades designed for cutting metal or plastics have unique tooth patterns and may include anti-friction coatings to reduce heat buildup.
When selecting a miter saw blade, consider the material you’ll be cutting and the type of cuts you need to make. Choose a blade with the appropriate tooth configuration, tooth count, and hook angle to achieve the desired results while ensuring compatibility with your miter saw’s specifications.
Arbor Size and Blade Mounting
Arbor size and blade mounting are critical factors to consider when selecting and installing a miter saw blade. The arbor size, which denotes the diameter of the hole in the blade’s center, must precisely match the arbor size of your miter saw. The most common arbor sizes are 5/8 inches and 1 inch, but verifying your saw’s specifications is vital.
Risk Factors
Mismatching arbor sizes can lead to instability, unsafe operation, and potential damage to the saw. Blade mounting involves securing the blade onto the miter saw’s arbor using the provided arbor nut and a blade wrench. Always prioritize safety by ensuring the saw is unplugged or disconnected from power before mounting or changing a blade.
Tighten the arbor nut to the manufacturer’s recommended torque to avoid blade warping or wobbling. Verify that the teeth on the blade are pointing toward the workpiece when properly mounted, and follow safety features that prevent accidental blade movement during the process.
Safety First
When removing a blade, adhere to the same safety precautions to ensure your miter saw’s safe and efficient operation. Always consult your miter saw’s manual and manufacturer guidelines for specific instructions on blade mounting and safety procedures.
Blade Quality and Durability
Blade quality and durability are essential factors to consider when selecting a miter saw blade, as they directly impact your cuts’ performance, longevity, and quality. Here’s what you need to know about blade quality and durability:
Blade Quality
Material: High-quality miter saw blades are typically made from premium materials, such as high-speed steel (HSS), carbide-tipped, or solid carbide. Carbide-tipped blades are known for their exceptional durability and cutting performance, especially when working with hard or abrasive materials.
Tooth Quality: Quality blades feature sharp and precisely ground teeth. Teeth should have consistent geometry and be evenly spaced to ensure smooth and accurate cuts. Precision grinding and honing of the teeth contribute to overall blade quality.
Anti-Vibration Features: Some high-quality blades have built-in anti-vibration features, such as laser-cut expansion slots or dampening inserts. These features reduce blade wobble and vibrations, resulting in cleaner cuts and extended blade life.
Coatings: Premium blades may have specialized coatings like Teflon to reduce friction and heat buildup during cutting. Coatings can also help prevent corrosion and resin buildup on the blade.
Durability
Material Hardness: Durable miter saw blades have teeth with a high hardness rating. Carbide-tipped blades, for example, offer superior hardness and can withstand the rigors of cutting hardwoods, metals, and abrasive materials.
Resistance to Wear: Quality blades are engineered to resist wear, crucial for maintaining sharpness and cutting precision over time. A durable blade can last longer without requiring frequent replacements.
Heat Resistance: Blades with better heat resistance are less likely to overheat during prolonged use, resulting in longer blade life and fewer blade changes.
Re-Sharpening: Some high-quality blades are designed for re-sharpening, allowing you to extend their lifespan by sharpening the teeth when they become dull. This can be a cost-effective option for professional woodworkers.
Thickness and Rigidity: Thicker blades are more robust and less prone to bending or warping during heavy use. Rigidity is essential for maintaining the blade’s accuracy and longevity.
Application-Specific Durability: Consider the specific material you’ll be cutting and choose a blade designed for that material. For example, if you frequently cut hardwoods or metals, opt for a blade with superior durability and wear resistance for those applications.
Cleanliness: Blades that are easy to clean and maintain tend to have longer lifespans. Some blades have non-stick coatings or features that minimize resin buildup, making them easier to clean.
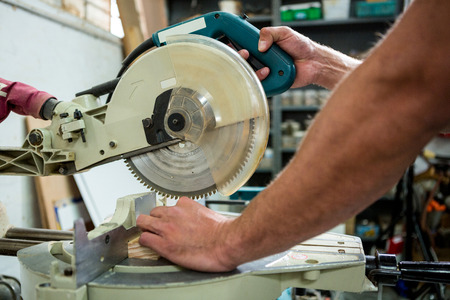
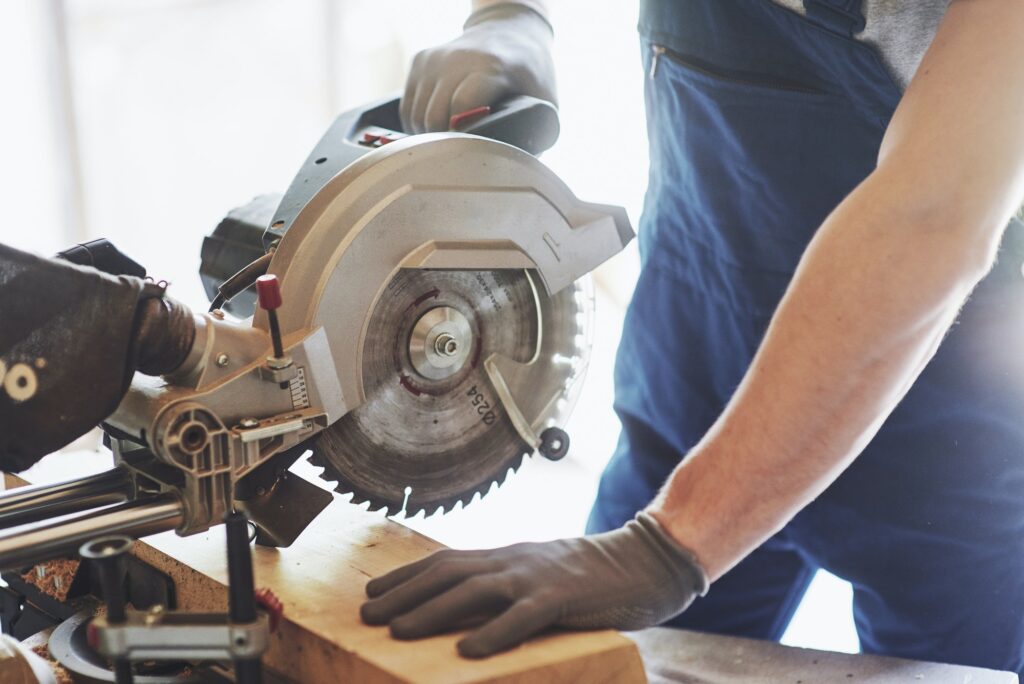
Changing and Installing Miter Saw Blades
Changing and installing a miter saw blade is a fundamental skill for any woodworker or DIY enthusiast. Here are step-by-step instructions on how to safely and effectively change and install a miter saw blade:
Before You Begin
- Ensure the miter saw is unplugged or disconnected from the power source.
- Wear safety gear, including safety glasses and work gloves, to protect yourself from sharp edges or debris.
- Ensure you have the correct replacement blade matching your miter saw’s specifications.
Changing and Installing the Miter Saw Blade
Raise the Blade Guard
Locate the blade guard on your miter saw. It’s a protective cover that surrounds the blade.
Raise the blade guard by pulling it up gently. Some miter saws have a lever or knob to release the guard; others may require manual lifting.
Lock the Spindle
Most miter saws have a spindle lock to immobilize the blade. Locate and engage the spindle lock mechanism. This typically involves depressing a button near the blade while simultaneously rotating it until it locks in place.
Remove the Blade Nut
Use the provided or suitable wrench to loosen and remove the blade nut. Turn the nut counterclockwise (lefty loosey) to loosen it. Keep the blade nut, washer, and spacers safe, as you will reuse them.
Remove the Old Blade
Carefully lift the old blade off the arbor (spindle) and remove it from the miter saw.
Install the New Blade
Place the new blade onto the arbor, ensuring it is properly seated and the teeth face in the correct direction (typically downward). Replace any spacers or washers that were initially on the arbor.
Reattach the Blade Nut
Thread the blade nut back onto the arbor clockwise (righty tight). Use the wrench to tighten the nut securely. Follow the manufacturer’s recommended torque specifications if available.
Release the Spindle Lock
Disengage the spindle lock mechanism by rotating the blade slightly or following the instructions specific to your miter saw.
Lower the Blade Guard
Carefully lower the blade guard back into its closed position. Ensure that it moves freely and covers the blade entirely.
Test the Blade
Plug in or reconnect the miter saw to the power source. Make a test cut on scrap material to ensure the new blade is installed and functioning correctly.
Safety Check
Always prioritize safety. Double-check that the blade is securely mounted and the blade guard functions as intended before starting any cutting tasks. Following these means, you can securely change and install a miter saw blade, ensuring that your saw is ready for precise and efficient cutting in your woodworking or construction projects.
Conclusion
Whether miter saw blades are universal depends on various factors. While some standard sizes and types of blades can fit a wide range of miter saws, the concept of true universality may only sometimes apply.
Miter saws come in different sizes, designs, and specifications, and these variations can affect the compatibility of blades. Users must consult their miter saw’s manual and specifications to ensure they select the appropriate blade for their specific model.