

One common question regarding woodworking and DIY projects is, “Can a 10-miter saw cut a 4×4?” This query reflects the curiosity of many enthusiasts who want to make precise and efficient cuts in larger pieces of wood. In this conversation, we will investigate the abilities of a ten-miter saw and whether it’s up to handling a hefty 4×4 piece of lumber.
How far will a 10-inch miter saw cut through 4×4?
A 10-inch miter saw will typically be unable to make a full crosscut through the entire width of a standard 4×4 piece of lumber, which measures approximately 3.5 inches by 3.5 inches in cross-section.
Depending on the specific model, a 10-inch miter saw typically has a maximum cutting depth or capacity of around 2.5 to 3 inches. This means that when making a crosscut on a 4×4, the saw blade will only penetrate partway through the material.
You will need to make multiple passes to cut through a 4×4 with a 10-inch miter saw. This involves cutting from one side of the 4×4, flipping it over, and cutting from the other to complete the cut. Remember that this process may require careful alignment and attention to ensure a clean and accurate cut.
Suppose you cut through 4x4s frequently and want a more convenient option. In that case, consider using a larger miter saw with a greater cutting capacity or a different tool, such as a circular or reciprocating saw, which can handle the total thickness of a 4×4 in a single pass.
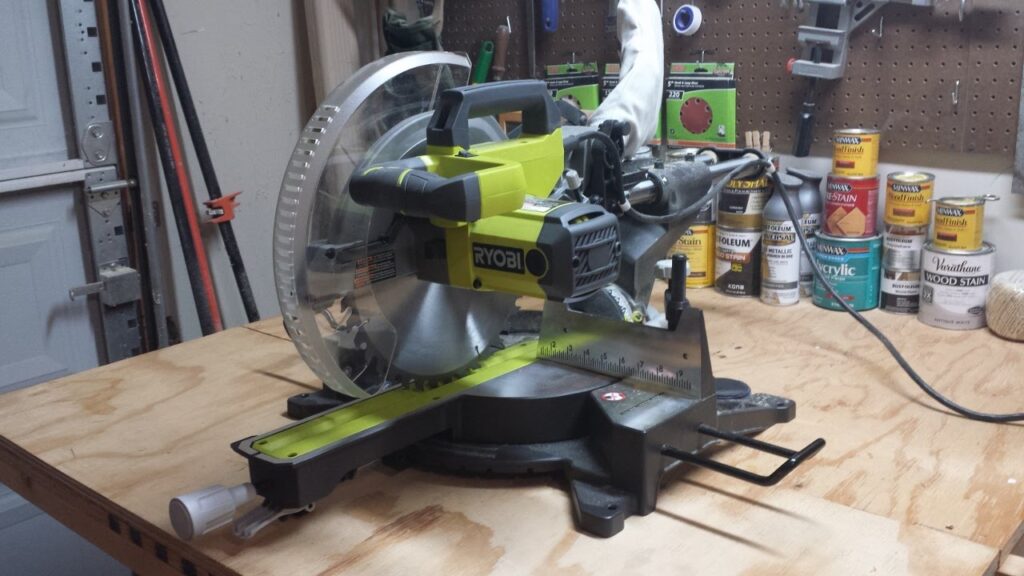
What Can You Cut with a 10″ Miter Saw?
A 10-inch miter saw is a versatile tool that can be used to cut a wide range of materials and perform various types of cuts, although it has some limitations compared to larger miter saws. Here are some of the materials and tasks you can accomplish with a 10-inch miter saw:
Wood
- Crosscuts: Making straight cuts across the grain of wood, suitable for cutting boards to length.
- Miter Cuts: Cutting wood at various angles across the width of the material helps create joints and angled corners.
- Bevel Cuts: Tilting the blade to cut through the thickness of the wood at an angle, allowing for compound cuts and beveled edges.
- Compound Miter Cuts: Combining Miter and bevel angles for complex cuts, often used in crown molding and trim work.
- Angled Cuts: Cutting wood at specific angles for precision woodworking projects.
Plywood and Sheet Goods
Making straight and angled cuts in plywood, particleboard, MDF (medium-density fiberboard), and other sheet materials.
Composite Decking and PVC Trim
Cutting composite decking boards, PVC trim, and other synthetic materials used in outdoor projects.
Metal
- Cutting non-ferrous metals like aluminum and brass using specialized metal-cutting blades.
- Plastic and PVC (with the appropriate blade):
- Picture Frames and Fine Woodworking
- Creating accurate mitered joints for picture frames and detailed woodworking projects.
Cuts in Other Materials
Depending on your blade type, a 10-inch miter saw can also cut materials like laminate flooring, melamine, and more.
While a 10-inch miter saw can handle a wide range of cutting tasks, it’s essential to consider its cutting capacity limitations, especially when working with more extensive or thicker materials. For tasks requiring greater cutting depth or capacity, a larger miter saw, such as a 12-inch model, may be more suitable.
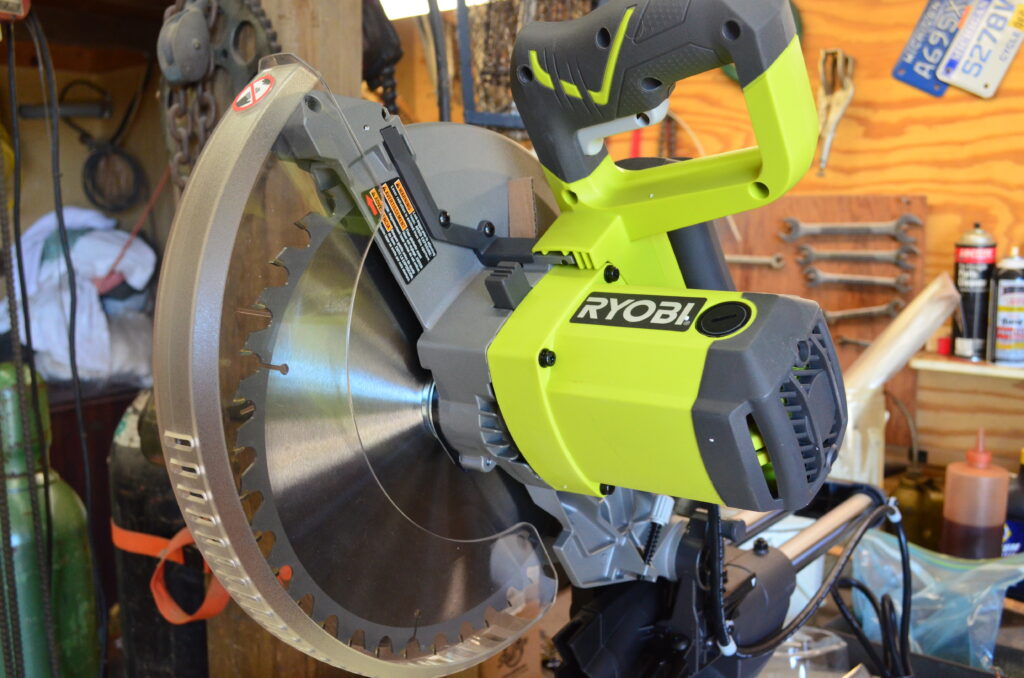
How deep can a 10″ Miter Saw cut?
Depending on the specific model and design, a 10-inch miter saw can typically cut to a maximum depth of around 2.5 to 3 inches. This means it can cut through materials up to approximately 2.5 to 3 inches thick in a single pass when the saw is set at a 90-degree angle (vertical or straight cut).
Remember that the maximum cutting depth may vary slightly between different brands and models of 10-inch miter saws, so it’s essential to refer to your saw’s user manual for precise specifications.
Suppose you need to cut through thicker materials. In that case, you may need to make multiple passes or consider using a larger miter saw with a greater cutting capacity, such as a 12-inch miter saw, which can handle thicker stock more efficiently.
Might a 10-inch Miter Saw Cut a 4×4 in a Solitary Pass at any point?
A 10-inch miter saw typically cannot cut through a 4×4 in a single pass because the maximum cutting capacity of a 10-inch miter saw is usually less than the entire width of a standard 4×4 piece of lumber.
A standard 4×4 is approximately 3.5 inches by 3.5 inches in cross-section. Most 10-inch miter saws have a maximum cutting depth or capacity of around 2.5 to 3 inches, depending on the specific model. This means that the saw blade cannot make a full crosscut through the entire width of the 4×4 material in a single pass.
You would need to make multiple passes to cut through a 4×4 with a 10-inch miter saw. This typically involves cutting from one side of the 4×4, flipping it over, and then cutting from the other to complete the cut. Remember that this process may require careful alignment to ensure a clean and accurate cut.
Suppose you need to make single-pass cuts through 4x4s regularly. In that case, consider using a larger miter saw with a greater cutting capacity or a different tool, such as a circular or reciprocating saw, which can handle the total thickness of a 4×4 in a single pass.
Step-by-step instructions to cut a 4×4 with a 10-inch Miter Saw
Cutting a 4×4 with a 10-inch miter saw involves making two passes, as the saw’s blade size isn’t large enough to cut through the entire width of the 4×4 in one go. Here are the steps to cut a 4×4 using a 10-inch miter saw:
1. Measure and Mark
Measure and imprint the ideal length on the 4×4 where you want to cut. Use a square or carpenter’s square to ensure your cut is perpendicular to the length of the board.
2. Set the Miter Angle
If you need to make an angled cut, change the miter point on your Miter saw to the desired angle. For a straight crosscut, set the miter angle to 0 degrees.
3. Secure the 4×4
Place the 4×4 lumber on the Miter saw’s base against the fence, with the marked cut line aligned with the saw blade. Ensure the 4×4 is firmly pressed against the fence and the saw’s base to prevent movement during the cut.
4. Make the First Pass
Please turn on the Miter saw and wait for it to reach full speed before cutting. Slowly lower the saw blade through the 4×4 along the marked cut line. Keep both hands on the saw’s handles and maintain a firm grip. Allow the blade to complete the cut, but do not force it. The blade will cut through approximately half of the width of the 4×4
5. Flip and Make the Second Pass
After the first pass, carefully remove the 4×4 from the saw and flip it over. Align the cut edge from the first pass with the saw blade, ensuring the marked cut line is still in the correct position. Secure the 4×4 again, and make the second pass to complete the cut through the 4×4.
6. Check the Cut
Inspect the cut to ensure it is straight and matches your marked line. Use sandpaper or a document to streamline any harsh edges if necessary.
7. Turn off the Saw
Please turn off the Miter saw and wait for the blade to come to a complete stop before raising it.
Following these steps, you can effectively cut a 4×4 with a 10-inch miter saw, even though it requires two passes to make the entire cut. Always prioritize safety, accurate measurements, and secure clamping to ensure a clean and precise cut.
Fundamental Downsides of Cutting 4×4 with a 10″ Miter Saw
While a 10-inch miter saw is a versatile tool, there are some drawbacks and limitations when it comes to cutting 4×4 lumber:
Two-Pass Requirement: The most significant drawback is that you must make two passes to cut through a 4×4 completely. This can be time-consuming and requires careful alignment and precision to ensure both cuts meet accurately.
Potential Inaccuracy: Aligning and positioning the 4×4 for the second pass can sometimes lead to slight inaccuracies in the cut. This may result in a less-than-perfect match between the cut edges, which can be problematic for specific woodworking projects.
Reduced Cutting Depth: A 10-inch miter saw has a limited cutting depth, typically around 2.5 to 3 inches. A standard 4×4 is 3.5 inches thick, so the saw blade must be able to cut through the entire thickness in one pass.
Not Suitable for Bevel Cuts: A 10-inch miter saw can make miter cuts (angle cuts), but it may need more beveling capacity for specific bevel cuts on a 4×4. This can limit the types of cuts you can achieve with this tool.
Time-Consuming for Large Volumes: If you need to cut a large volume of 4x4s, the two-pass process with a 10-inch miter saw can be inefficient and slow compared to using a larger saw or other cutting methods.
Blade Wear: Cutting through thick material like 4x4s can accelerate blade wear and require more frequent blade replacements or sharpening, increasing maintenance costs.
Limited Capacity for Other Materials: While a 10-inch miter saw is suitable for many tasks, its limitations become more pronounced when cutting thicker or denser materials beyond 4x4s.
Safety Considerations: Cutting 4x4s with a 10-inch miter saw may require extra care to ensure the workpiece is securely clamped and the saw is stable. Safety precautions are crucial, as cutting thick and heavy materials can pose additional risks.
Despite these drawbacks, a 10-inch miter saw can still be a valuable tool for cutting 4x4s, especially for occasional or minor projects. However, consider using a larger saw with greater cutting capacity or more extensive 4×4 cutting tasks or projects demanding higher precision and efficiency or explore alternative cutting methods.
Maintenance of a 10″ Miter Saw
Proper maintenance of your 10-inch Miter saw is essential to ensure its longevity, accuracy, and safety. Standard upkeep can likewise assist with forestalling issues and broaden the life of the saw. Here are some maintenance tips for a 10-inch miter saw:
1. Clean the Saw
After each use, clean the saw’s base, blade guard, and other components to remove sawdust and debris. Use compressed air, a brush, or a shop vacuum to clean hard-to-reach areas.
2. Check the Blade
Inspect the saw blade for damage, dullness, or missing teeth. Replace the blade if it’s worn or damaged. Follow the manufacturer’s recommendations for blade maintenance and replacement.
3. Lubricate Moving Parts
To ensure smooth operation, apply lubrication to the saw’s moving parts, such as the pivot points and sliding rails. Counsel the client manual for direction on the appropriate lubricants and locations.
4. Check the Fence and Table
Ensure that the fence and table are clean and free from debris. Make sure the fence is square to the blade for accurate cuts.
5. Verify the Blade Alignment
Periodically check and adjust the blade’s alignment to ensure it is perpendicular to the table; if vital, counsel the client manual for guidelines on blade alignment adjustments.
6. Inspect the Power Cord
Examine the power cord for any damage, fraying, or wear. Ensure that it is securely connected to the saw.
7. Maintain the Dust Collection System
If your Miter saw has a dust collection system, regularly clean or replace the dust bag or connect a shop vacuum for effective dust extraction. A clean workspace improves visibility and safety.
8. Tighten Loose Fasteners
Check for loose screws, bolts, or fasteners on the saw and tighten them as needed. Pay particular attention to critical components like the blade guard and handle.
9. Check the Safety Features
Verify that safety features like the blade guard work properly and spring back into place after each cut. Ensure that the saw’s safety mechanisms are functioning as intended.
10. Store Properly
Store your Miter saw in a clean, dry area, away from direct sunlight and moisture. When not in use, Cover it to prevent dust accumulation.
11. Follow the Manufacturer’s Recommendations
Refer to the manufacturer’s user manual for specific maintenance guidelines and recommendations tailored to your Miter saw model.
12. Regular Calibration
To ensure accurate cuts, periodically check and calibrate the saw’s bevel and miter angles. Follow the manufacturer’s instructions for calibration procedures.
By performing regular maintenance on your 10-inch Miter saw, you can ensure its reliability and safety while also preserving its cutting accuracy over time. Proper care and attention to detail will extend the life of your saw and improve the quality of your woodworking projects.
Is 10″ Miter Saw an ideal choice?
Whether a 10-inch miter saw is ideal depends on your specific needs and the projects you intend to undertake. Here are some considerations to help you determine if a 10-inch miter saw is the right tool for you:
Advantages of a 10-inch Miter Saw
Portability: 10-inch miter saws are typically more compact and lightweight than their larger counterparts, making them easier to transport and store. This can be especially useful if you need to move your saw frequently.
Versatility: A 10-inch miter saw is more than sufficient for many joint woodworking and trim tasks. It can easily handle crosscuts, miter cuts, and bevel cuts, allowing you to perform a wide range of cutting operations.
Cost-Effective: 10-inch miter saws are often more budget-friendly than larger models regarding the underlying price tag and the expense of substitution blades.
Ease of Use: They are generally easier for novices because of their more modest size and lighter weight.
Important Considerations
Cutting Capacity: One limitation of a 10-inch miter saw is its cutting capacity. It may need help to make deep cuts or handle extensive materials, which could be a limitation for specific projects.
Extensive Stock: If you frequently work with large or thick pieces of lumber, you may find a 12-inch miter saw more suitable, as it offers greater cutting capacity.
Efficiency: If you have a high volume of cutting to do or work on larger construction projects, a larger miter saw might increase your efficiency.
Accuracy: Some woodworkers prefer the slightly finer cuts achieved with a 10-inch miter saw due to the smaller blade diameter. However, the difference in precision may be insignificant for most general woodworking tasks.
A 10-inch miter saw is an excellent choice for many woodworking and trim projects, especially if you value portability, versatility, and cost-effectiveness. It’s fundamental to evaluate your particular requirements and the types of materials you’ll be working with to determine if a 10-inch miter saw aligns with your requirements. If you regularly work with more extensive or thicker materials, consider a larger miter saw with greater cutting capacity.
Conclusion
Whether a 10-inch miter saw can effectively cut through a 4×4 piece of lumber depends on several factors, including the saw’s specifications and the specific 4×4 material.
While many 10-inch miter saws can make such cuts, it is essential to consider the saw’s power, blade type, and the density of the wood being cut.
With the right equipment and precautions, a 10-inch miter saw can be a significant device for cutting 4×4 lumber, making it a versatile choice for woodworking and construction projects.