
Are you struggling with putting the chain back on your electric chainsaw? Don’t worry. We’ve got you covered. We will walk you through the step-by-step process of how to put a chain back on an electric chainsaw. Whether you’re a seasoned professional or a beginner, his instructional exercise will give you the information and confidence to tackle this task successfully.
Loosen The Cutting Bar
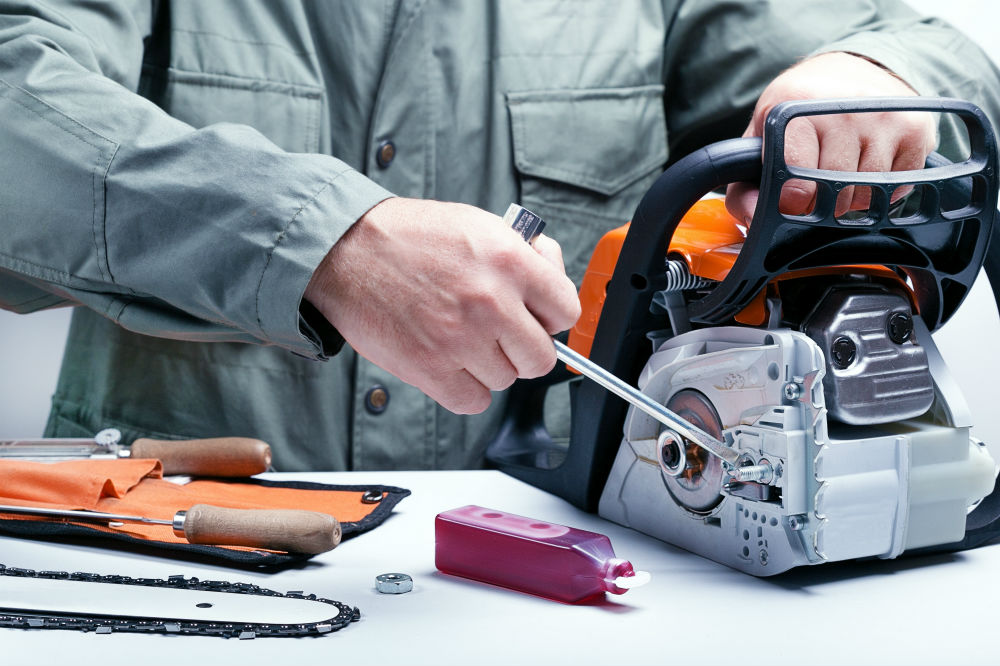
When working with an electric chainsaw, it’s essential to maintain and service the tool properly to ensure optimal performance and safety. One common maintenance task is putting the chain back on the chainsaw.
We will guide you on loosening the cutting bar step-by-step to facilitate the chain installation. Following these instructions, you can safely and efficiently return the chain to your electric chainsaw.
Step 1: Prepare for Safety
Before starting any maintenance work on your electric chainsaw, prioritize safety. Wear protective gloves, goggles, and appropriate clothing to shield yourself from potential hazards. Additionally, ensure the chainsaw is turned off and unplugged from the power source.
Step 2: Locate the Chain Tensioning System
Electric chainsaws have a chain tensioning system to adjust the chain’s tension. To loosen the cutting bar, you need to locate this system, usually found on the side of the chainsaw near the bar.
Step 3: Use the Chain Tensioning Tool
The chain tensioning system typically consists of a tensioning screw or knob and a tensioning tool. The tensioning tool is specifically designed to loosen or tighten the cutting bar. Insert the tensioning tool into the screw or knob, ensuring a secure fit.

Step 4: Loosen the Cutting Bar
Using the tensioning tool, rotate the tensioning screw or knob counterclockwise to loosen the cutting bar. This action releases the tension on the chain and allows you to reposition it onto the bar easily.
Step 5: Align the Chain
You can now align the chain properly with the cutting bar loosened. Ensure that the chain’s drive links are correctly seated in the bar’s groove. Make sure the sharp edges of the chain’s teeth face forward, in the direction of the chainsaw’s rotation.
Step 6: Re-tension the Cutting Bar
Once the chain is correctly aligned on the bar, it’s time to re-tension the cutting bar. Use the tensioning tool to turn the tensioning screw or knob clockwise. This action tightens the chain, ensuring proper tension for safe and efficient operation.
Step 7: Verify Tension and Safety
After re-tensioning the chain, check its tension by gently pulling it away from the bar. The chain should have slightly slack but not sag or hang loose. Ensure the chain moves freely along the bar without binding. Double-check that all safety features and guards are in place before proceeding.
Removing The Chain
At times, removing the chain from your electric chainsaw may be necessary for maintenance, replacement, or storage purposes. Removing the chain ensures your safety and allows you to perform necessary tasks effectively.
We will direct you through the bit-by-bit course of removing the chain from an electric chainsaw. You can safely disassemble the chain from your chainsaw by following these instructions.
Step 1: Position the Chainsaw: Find a stable surface to place your chainsaw. Securing it in a vice or using a workbench with clamps to prevent movement during the chain removal process is recommended. Make sure the chainsaw is stable and firmly secured before proceeding.
Step 2: Locate the Chain Tensioning System: To remove the chain, you first need to locate the chain tensioning system. It is usually positioned on the side of the chainsaw near the cutting bar, and this system helps adjust the chain’s tension.

Step 3: Loosen the Cutting Bar: Rotate the tensioning screw or knob counterclockwise using the appropriate tensioning tool to loosen the cutting bar. This action relieves tension from the chain, making it easier to remove.
Step 4: Disconnect the Chain from the Bar: Once the cutting bar is loosened, carefully lift the chain off the bar, starting from the top. Pull it away from the bar, ensuring you don’t force or damage the chain or other chainsaw parts.
Step 5: Remove the Chain from the Sprocket: After removing the chain from the bar, locate the sprocket beneath the protective cover at the rear of the chainsaw. Utilize your hand or a level-head screwdriver to slide the chain off the sprocket teeth, allowing it to disengage completely.
Step 6: Store or Inspect the Chain: If you remove the chain for maintenance or replacement, store it in a clean, dry place. If you’re inspecting the chain for damage or sharpening, carefully examine each link for signs of wear, bent or damaged teeth, or any other issues that may require attention.
Step 7: Reassemble and Reinstall the Chain: Once you’ve completed the necessary maintenance or inspection, follow the manufacturer’s instructions to reassemble and reinstall the chain onto the cutting bar. Ensure proper alignment of the drive links within the bar’s groove and engage the chain with the sprocket teeth.
Mounting The New Chain
Mounting a new chain on your electric chainsaw is essential for maintaining optimal cutting performance. Whether replacing a worn-out chain or installing a new one, correctly mounting the chain ensures safe and efficient operation.
We will direct you through the bit-by-bit course of mounting a new chain on an electric chainsaw. Following these instructions, you can install the chain properly and prepare your chainsaw for cutting tasks.
Step 1: Chain Inspection: Inspect a new chain for any damage or defects before mounting it. Check for bent or damaged teeth, excessive wear, or signs of corrosion. Ensure that the new chain matches the specifications recommended by the chainsaw manufacturer.
Step 2: Loosen the Cutting Bar: Rotate the tensioning screw or knob counterclockwise using the appropriate tensioning tool to loosen the cutting bar. This step allows you to create enough slack to mount the new chain.

Step 3: Position the Chain: Place the new chain on the guide bar, aligning the drive links with the groove. Ensure the cutting edges of the chain face the correct direction (usually towards the front of the chainsaw) to ensure proper cutting performance.
Step 4: Engage the Chain with the Sprocket: Carefully guide the chain over the sprocket beneath the protective cover at the rear of the chainsaw. Ensure that the chain engages with the sprocket teeth properly.
Step 5: Thread the Chain onto the Bar: While holding the chainsaw steady, use your hand to turn the chain around the sidebar. Ensure that all drive links are properly seated in the bar’s groove and that the chain is equitably distributed along the length of the bar.
Step 6: Tension the Cutting Bar: Using the tensioning tool, turn the tensioning screw or knob clockwise to tighten the cutting bar and create proper tension on the chain. Ensure the chain has a slight slack while not sagging or hanging loose.
Step 7: Check Chain Tension: Pull the chain away from the bar to check its tension. It should have a slight movement, yet, it should not be excessively free or excessively close. Adjust the tension as needed using the tensioning tool.
Step 8: Verify Safety Features and Guards: Before proceeding, double-check that all safety features, such as the chain brake, are properly engaged and all protective guards are in place.