
Unlocking the full potential of your trusty Ridgid drill begins with a simple yet crucial skill: deliberately knowing how to remove a drill bit from your Ridgid drill.
Whether you’re a seasoned DIY enthusiast or embarking on your home improvement journey, mastering this fundamental task will save you time and frustration. So, let’s dive in and discover the art of releasing the grip – it’s all about how to remove drill bit from Ridgid drill.
Explanation of the problem: Stuck drill bit in a Ridgid drill
One typical challenge DIY enthusiasts and professionals encounter is the frustrating occurrence of a stuck drill bit in a Ridgid drill. This problem can halt a project in its tracks and potentially damage the drill and the drill bit if not addressed correctly.
A stuck drill bit can result from various factors, including over-tightening, improper installation, or wear and tear over time. It can happen with keyless and keyed chucks, making it a universal issue for users of Ridgid drills. When a drill bit becomes lodged within the chuck, it prevents the user from performing further drilling operations and can be a source of significant frustration.
Addressing this issue requires a careful and systematic approach to ensure the safe and efficient removal of the stuck drill bit.
The following outline will discuss the step-by-step process for removing a stuck drill bit from a Ridgid drill, emphasizing safety precautions, appropriate tools and materials, and troubleshooting tips to handle more challenging situations. This knowledge equips users with the skills and confidence to tackle this common issue effectively and avoid unnecessary frustration and potential damage.
Importance of sorting out how to remove a stuck drill bit
Understanding how to successfully remove a stuck drill bit from a power tool like a Ridgid drill is a valuable skill for several compelling reasons:
Minimizes Downtime: A stuck drill bit can make your project standstill. Knowing how to resolve this issue promptly can save you precious time and help you maintain your workflow.
Preserve Equipment: Mishandling a stuck drill bit can damage the drill and the drill bit. Knowing the correct procedure helps safeguard your tools, ensuring they remain in good working condition.
Cost Savings: Avoiding damage to your equipment means you won’t need to invest in costly replacements or repairs.
Enhances Safety: Attempting to force or misuse the drill to remove a stuck bit can pose safety hazards. Knowing the right technique ensures a safer working environment.
Versatility: A DIY enthusiast or professional who can handle this common issue effectively gains more versatility and self-reliance in their work. This skill is precious in remote locations or situations where immediate professional assistance is unavailable.
Professionalism: Clients expect you to handle unexpected challenges efficiently and professionally if you’re a professional tradesperson. Swiftly resolving a stuck drill bit issue reflects positively on your skills and reputation.
Project Completion: For DIYers, the ability to remove a stuck drill bit means projects can be completed without unnecessary delays. Whether a home improvement task or a critical site project, timely completion is often crucial.
Step-by-Step Guide: How to Remove a Stuck Drill Bit from a Ridgid Drill
Note: Before you begin, ensure that the drill is turned off and unplugged (if corded), or remove the battery (if cordless) to prevent any accidental starts.
Step 1: Examine the Stuck Drill Bit
Carefully inspect the drill bit and chuck to identify the problem. Look for any visible damage, such as bent or broken bits. Ensure that no obstructions, like debris or dirt, prevent the drill bit from coming out.
Step 2: Identify the Type of Chuck
Determine whether your Ridgid drill has a keyless chuck or a keyed chuck. This is important because the removal process varies for each type.
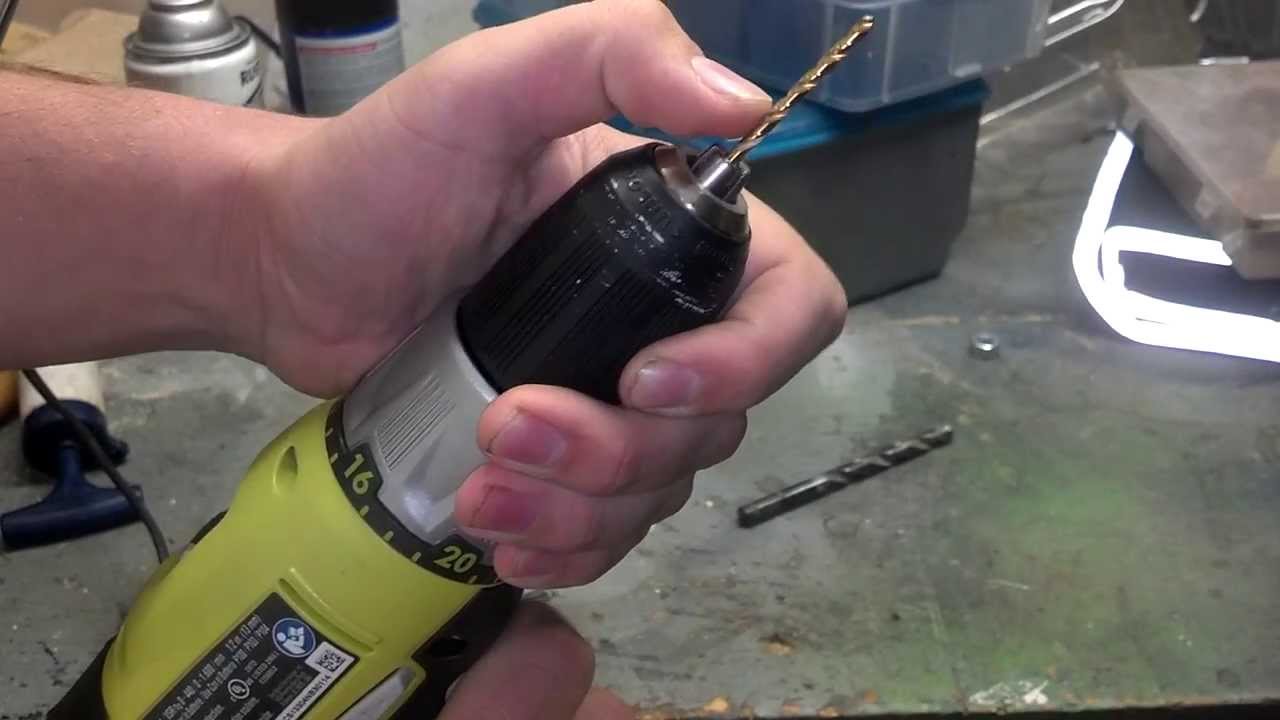
Step 3: Loosen a Keyless Chuck (If Applicable)
If your Ridgid drill has a keyless chuck, follow these steps:
- Hold the drill securely with one hand.
- With your other hand, grasp the chuck firmly and turn it counterclockwise (to the left). This will release the jaws of the chuck and should loosen the bit.
- If the bit remains stuck, pliers grip the chuck for better leverage while turning it counterclockwise.
Step 4: Remove a Stuck Drill Bit from a Keyed Chuck (If Applicable)
If your Ridgid drill has a keyed chuck, follow these steps:
- Locate the chuck key that came with your drill.
- Insert the chuck key into one of the holes on the chuck’s collar.
- Turn the key clockwise (to the right) to loosen the chuck and release the drill bit.
- Continue turning until the chuck opens enough to remove the bit.
Step 5: Lubricate If Necessary
If the drill bit is still stuck, apply a small amount of lubricant, such as penetrating oil, to the chuck threads. Allow it to penetrate for a few minutes to help loosen the bit.
Step 6: Gently Tap the Chuck (If Necessary)
With the drill bit still in place, This can help free a stubbornly stuck bit.
Step 7: Remove the Drill Bit
Once the bit is loose, grasp it firmly with pliers or your hand and pull it straight out of the chuck. Ensure you have a secure grip to prevent injury.
Step 8: Inspect and Clean
After successfully removing the bit, inspect the chuck and the bit for any damage. Replace any damaged components. Clean the chuck and bit if there is dirt or debris, which can affect the chuck’s performance.
Step 9: Test the Drill
Before resuming your project, reassemble the drill and test it to ensure it’s functioning correctly.
Step 10: Troubleshooting
If the drill bit remains stuck after attempting the steps above, consider seeking professional assistance or contacting the manufacturer’s customer support for guidance.
Why do drill bits stuck in the rigid drill?
Drill bits can become stuck in a Ridgid drill for various reasons, including:
- Over-Tightening: If the chuck is tightened excessively, it can grip the drill bit too tightly, making it difficult to remove.
- Improper Installation: If the drill bit is not appropriately inserted into the chuck, it may not align correctly, causing it to become stuck.
- Corrosion and Rust: Over time, the chuck threads and drill bit shank can accumulate rust or corrosion, causing them to bind together.
- Debris and Dirt: Dust, debris, or other contaminants can accumulate in the chuck, preventing the bit from being released.
- Wear and Tear: Frequent use can cause wear and tear on the chuck and drill bit, leading to a tighter grip and potential sticking.
- Keyed Chuck Misalignment: In drills with keyed chucks, if the chuck key is not inserted correctly or if the key itself is damaged, it can lead to the chuck not releasing the bit.
- Adhesive or Glue Residue: Some materials require adhesives or glue during drilling. Excess adhesive can seep into the chuck and harden, causing the bit to stick.
- Improper Chuck Type: Attempting to use a drill bit with a shank size that doesn’t match the chuck’s capacity can lead to a stuck bit.
- Extreme Force: Applying excessive force to the chuck or drill bit during drilling can cause them to become tightly wedged together.
Tools and Materials Required
You’ll need specific tools and materials to remove a stuck drill bit from a Ridgid drill to ensure a safe and effective process. Here’s a list of what you’ll need:
Tools
Chuck Key (for Keyed Chucks): If your Ridgid drill has a keyed chuck, you’ll need the chuck key that came with your drill.
Pliers: Locking or adjustable pliers can be handy for gaining extra leverage to turn the chuck.
Troubleshooting
Troubleshooting a stuck drill bit in a Ridgid drill can be necessary if the bit remains stubbornly stuck even after following the standard removal steps. Here are some troubleshooting steps to consider:
1. Check the Chuck Type
Verify that you correctly identified the type of chuck (keyed or keyless) on your Ridgid drill. Make sure you are using the appropriate method for your specific chuck type.
2. Double-Check Bit Orientation
Ensure that the bit is aligned correctly in the chuck. It should be straight and not at an angle, making removal more difficult.
3. Apply More Lubricant
If the bit is stuck due to rust or corrosion, apply more lubricant (penetrating oil) and let it penetrate for a more extended period, such as 15-30 minutes. Repeat the removal steps after allowing the lubricant to work.
4. Use More Force (Caution Required)
If the bit is still stuck, you can use pliers or a wrench with adjustable jaws to gain more leverage while turning the chuck counterclockwise. Be extremely cautious not to apply too much force, which can damage the drill or cause injury.
5. Tap the Chuck More Firmly
When tapping the chuck with a rubber mallet or a wood block, apply slightly more force, but do so carefully. The tapping may help dislodge the bit.
6. Heat (for Extreme Cases)
When the bit is stuck due to adhesive or excessive rust, carefully apply heat to the chuck area using a heat gun. Be cautious not to overheat or damage the drill. Heat can sometimes expand the metal and facilitate removal.
7. Seek Professional Assistance
If all else fails or you are uncomfortable attempting more forceful methods, consider seeking assistance from a professional technician or a Ridgid service center.
8. Prevent Future Sticking
To prevent future occurrences of stuck drill bits, regularly clean and maintain your Ridgid drill, especially the chuck and chuck threads. Lubricate the chuck periodically to reduce the risk of corrosion.
Safety Precautions
Safety is a top priority when working with power tools like a Ridgid drill, especially when dealing with a stuck drill bit.
Wear Appropriate Safety Gear
Work gloves to shield your hands from sharp edges and to improve grip. Ear protection if the drill is particularly loud.
Power Off and Disconnect
(if corded) or the battery is removed (if cordless) before attempting any removal procedures. This prevents accidental starts.
Secure Workpiece
If your project involves a workpiece, ensure it’s securely clamped or held in place. This reduces the risk of unexpected movement during the removal process.
Identify Chuck Type
Confirm whether your Ridgid drill has a keyless or keyed chuck. Use the appropriate removal method for your specific chuck type.
Use the Correct Tools
Always use the recommended tools and materials outlined in the guide for the removal process.
Follow the Manufacturer’s Instructions
Refer to the Ridgid drill’s user manual for specific safety guidelines and instructions for your drill model.
Avoid Excessive Force
Do not use excessive force when attempting to remove the stuck drill bit. Applying too much force can damage the drill or bit or cause injury.
No Loose Clothing or Jewelry
Ensure you are not wearing loose clothing, jewelry, or any items that could become entangled in the drill or moving parts.
Ventilation
Work in a well-ventilated area, especially using lubricants or other chemicals. Proper ventilation helps reduce exposure to fumes.
Inspect Tools Regularly
Periodically inspect your drill, chuck, and drill bits for wear, damage, or defects. Replace any damaged components promptly.
Emergency Plan
Have an emergency plan in place in case something goes wrong.
Conclusion
Knowing how to remove a stuck drill bit from a Ridgid drill is a practical and essential skill. It helps avoid project delays equipment damage, and ensures a safer working environment. You can effectively address this common issue by following the step-by-step guide, using the right tools, and prioritizing safety.
Remember, safety should always come first. Wear protective gear, disconnect power sources, and work in a clean area. If the bit remains stuck despite your efforts, consider seeking professional assistance. Ultimately, mastering this skill empowers you to complete tasks efficiently and maintain your tools in good working condition, whether you’re a DIY enthusiast or a professional.