
Are you familiar with the handy tool often called the secret weapon of every seasoned DIY enthusiast and professional contractor? We’re diving into the world of drywall work today, where precision meets efficiency and it all begins with a key player: the Drywall saw.
Whether you’re a DIY novice or a seasoned pro, understanding what a drywall saw is and how it can be your trusty sidekick in all your home improvement projects is essential. So, let’s embark on a journey through the world of Drywall and unveil the secrets of this remarkable tool – the Drywall saw.
A Comprehensive Guide to Types of Drywall Saws for DIY Enthusiasts
Keyhole Saw
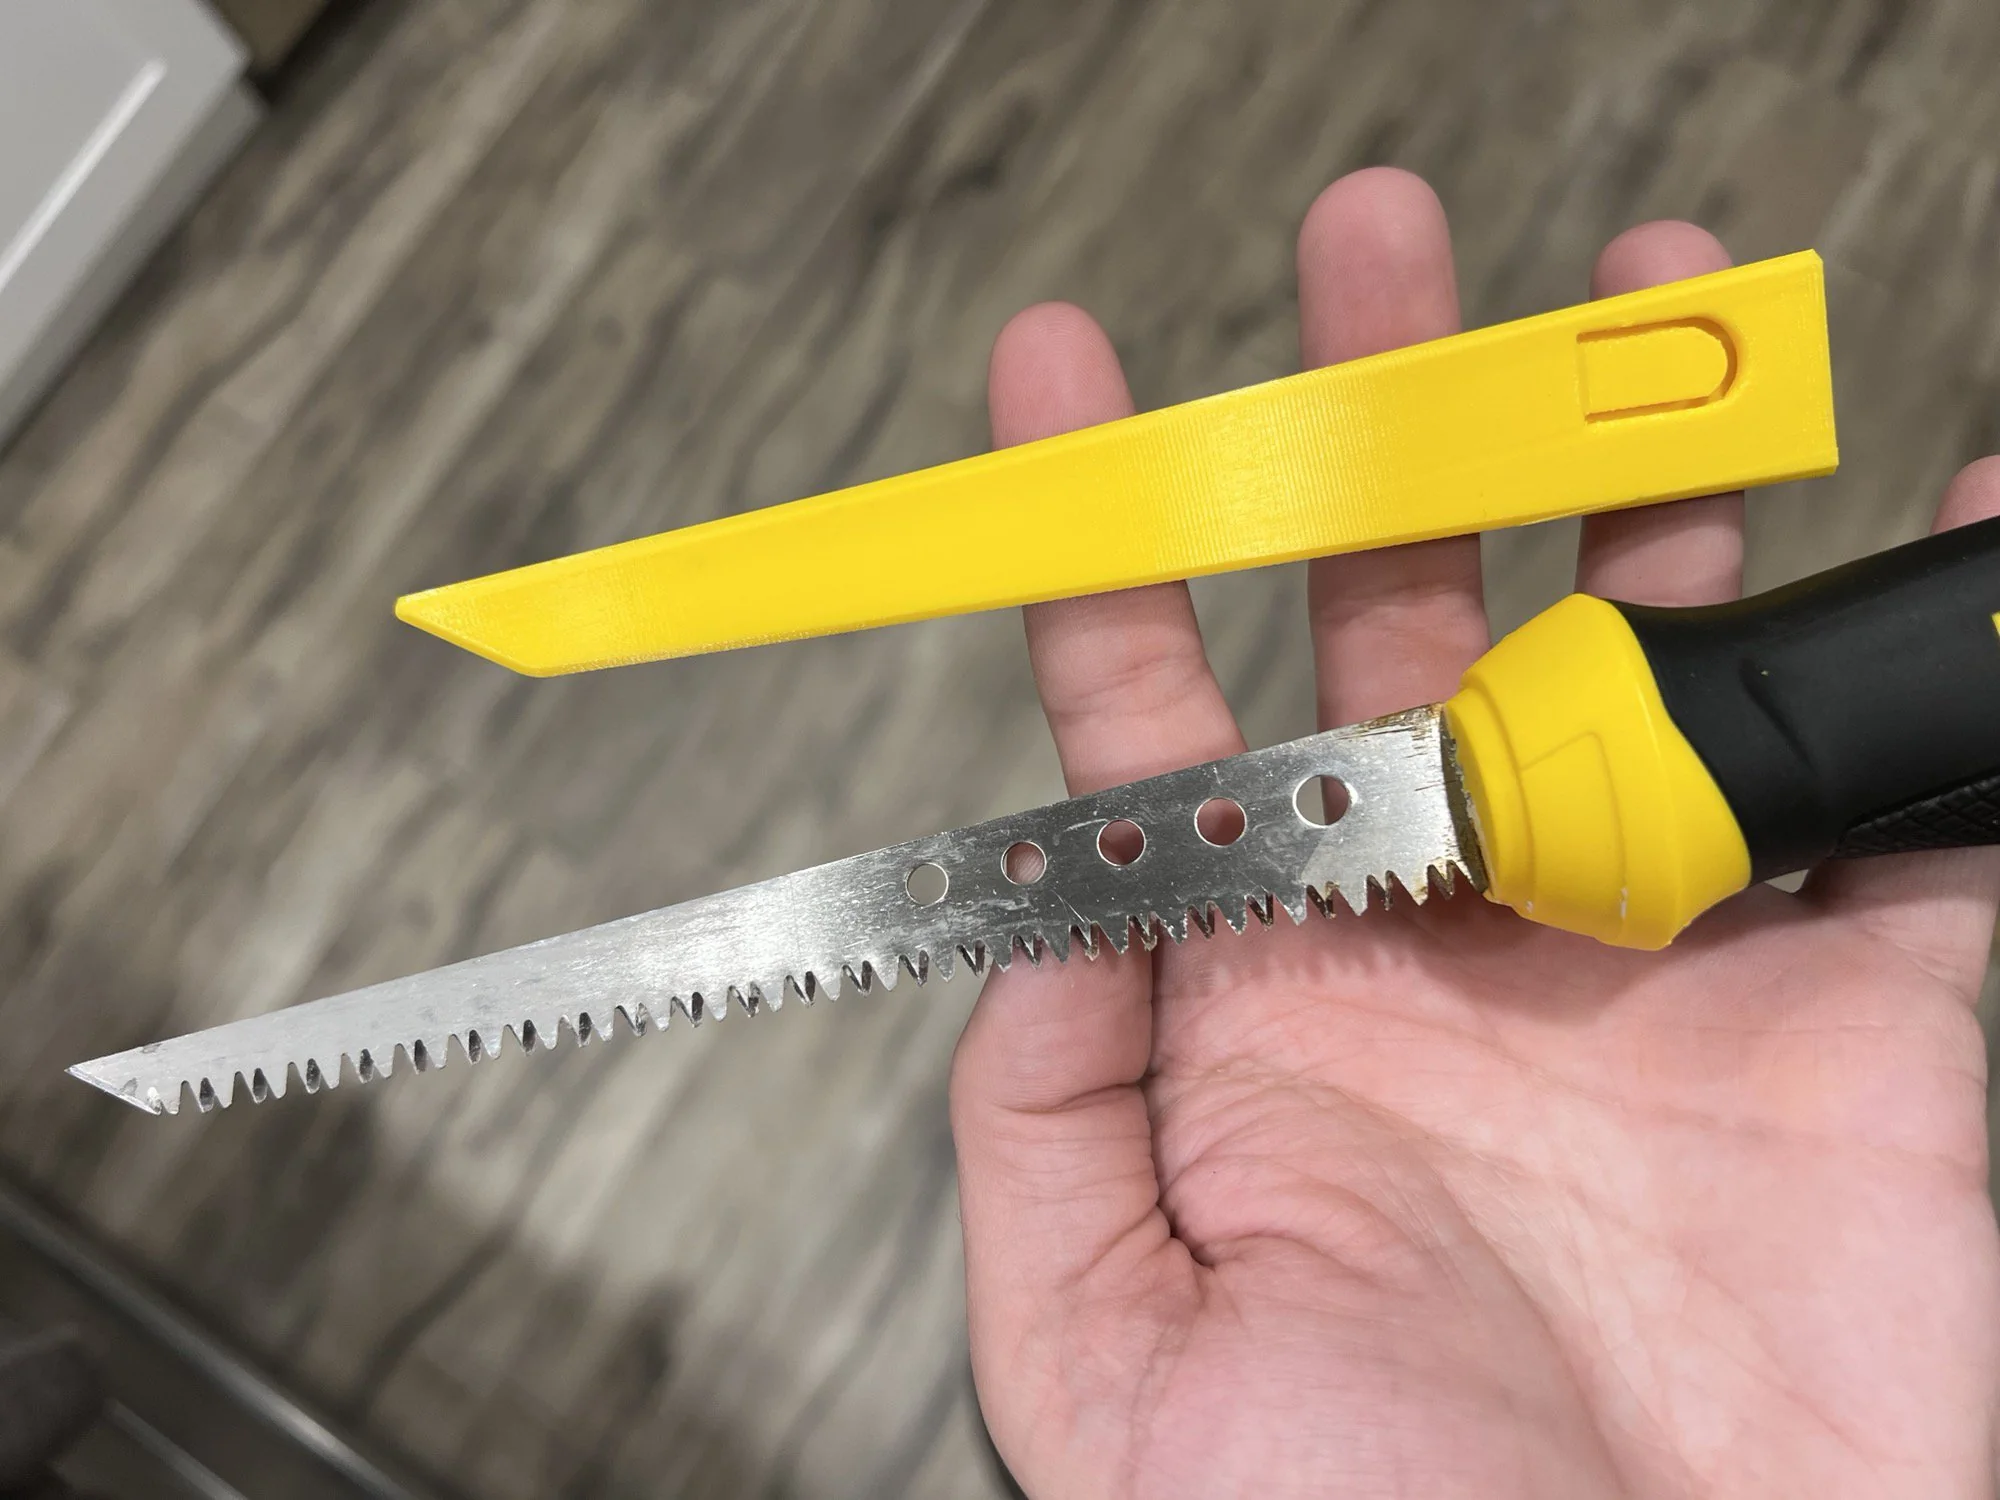
A keyhole saw, a drywall jab saw, is a versatile and widely used tool for cutting openings in Drywall. Its thin, pointed blade creates precise cuts for electrical outlets, light switches, and other small spaces. Keyhole saws typically have sharp, serrated edges for effortless cutting.
Spiral Saw
A spiral saw, often called a rotary drywall saw, is a powered tool designed for more extensive drywall work. It features a rotating blade that can quickly cut through large sections of Drywall, making it ideal for installing recessed lighting or HVAC vents. Some spiral saws come with adjustable depth settings for added versatility.
Wallboard Saw
A wallboard saw is a specialized drywall saw designed for cutting drywall sheets and panels. It typically has a long, sharp blade with pointed teeth that can cut through Drywall with ease. Wallboard saws are an excellent choice for making long, straight cuts and must-haves for large drywall installations.
Compass Saw
A compass saw, also known as a pad or keyhole saw, is similar in design to a keyhole saw but features a round, retractable blade. This type of Drywall saw is excellent for cutting holes and curves in Drywall. It’s commonly used for creating holes for plumbing pipes or irregularly shaped openings.
Jab Saw
A jab saw, sometimes called a plasterboard saw, is an essential drywall-cutting tool. It has a simple design with a sharp, pointed blade ideal for making quick cuts and punctures in Drywall. While not as versatile as other drywall saws, it’s a handy tool for small, precise tasks.
Multi-Purpose Saw
Some drywall saws are designed for multiple purposes, making them versatile additions to your toolkit. These saws often have interchangeable blades or attachments that allow you to switch between cutting Drywall, wood, and other materials, making them a valuable asset for DIY enthusiasts.
Drywall Saw Techniques: A Step-by-Step Guide
Before you start cutting Drywall, it’s essential to have the right tools and safety gear in place:
- Drywall saw
- Safety glasses or goggles
- Dust mask or respirator
- Work gloves
- Measuring tape
- Pencil or chalk for marking
Step 2: Mark Your Cut Lines
Measure and mark the area where you need to cut. Use a measuring tape, pencil, or chalk to create clear guidelines for your cuts. Double-check your measurements to ensure accuracy.
Step 3: Score the Drywall
With your cut lines marked, it’s time to start cutting. Begin by lightly scoring the Drywall along your drawn lines using the tip of the Drywall saw. This initial score helps create a guide for the saw blade, making your cuts more precise.
Step 4: Make the Cut
Hold the Drywall saw firmly and insert the blade into the scored area. Start sawing back and forth, using gentle, even strokes. Allow the saw’s teeth to do the cutting rather than applying excessive force. Keep your movements steady and controlled to maintain accuracy.
Step 5: Cut Corners and Curves
When you encounter corners or curves in your cut lines, you may need to adjust your technique. For corners, make a series of straight cuts that meet at the corner, creating an opening. For curves, use a gentle rocking motion with the saw to gradually shape the desired angle.
Step 6: Remove Cut-Out Sections
As you complete your cuts, the cut-out sections of Drywall may become loose. Carefully remove these sections by hand, working from the center outward. Be cautious not to damage the surrounding Drywall.
Step 7: Sand and Finish
After the cut-out section is removed, you may notice rough edges or slight imperfections. Use fine-grit sandpaper or a drywall rasp to smooth the edges and achieve a clean, finished look. Wear your safety gear during this step to protect yourself from dust.
Step 8: Clean Up
Cleaning up after using a drywall saw is essential. Dispose of the drywall scraps, vacuum dust, and wipe down the work area. Proper cleanup ensures a safe and organized workspace for future tasks.
A Comprehensive Guide to Drywall Tools and Accessories for DIY Enthusiasts and Professionals
Drywall Tools:
a. Taping Knife: Taping knives come in sizes from 4 to 14 inches. They apply joint compound (mud) to seams and corners. A wider blade is helpful for the first coat, while a narrower one is ideal for finishing coats.
b. Mud Pan: This shallow tray holds and mixes joint compounds. It makes it easy to access and apply mud to your taping knife.
c. Drywall Saw: A vital tool for cutting openings for electrical outlets, switches, and other fixtures. It typically has a serrated blade for precision cuts.
d. Utility Knife: Useful for scoring and cutting drywall sheets to size. Replaceable blades are convenient for keeping it sharp.
e. Drywall Screw Gun: This power tool is designed specifically for driving drywall screws efficiently. It helps to prevent overdriving, which can damage the Drywall.
f. Drywall T-Square: A T-square is essential for making accurate, straight cuts on drywall sheets. It also aids in checking for level and plumb.
g. Drywall Rasp: To smooth rough edges and imperfections in the Drywall, a rasp is indispensable.
Drywall Accessories:
a. Drywall Screws: These specialized screws have fine threads and are designed to hold Drywall securely in place. They come in various lengths to accommodate different drywall thicknesses.
b. Drywall Joint Tape: Joint tape, often made of paper or mesh, reinforces seams and corners. It prevents cracks and provides a smooth surface for finishing.
c. Corner Bead: Corner bead protects and reinforces outside corners of Drywall. It comes in metal or vinyl options and is essential for clean and sharp corners.
d. Drywall Corner Tool: This tool helps in applying joint compound evenly to inside and outside corners, ensuring a seamless finish.
e. Drywall Sandpaper and Sanding Blocks: Sandpaper is crucial for smoothing joint compounds. Sanding blocks with various grits helps achieve a polished look.
f. Drywall Lift: A drywall lift can be a lifesaver if you’re working alone or with limited help. It holds drywall sheets in place while you secure them to the ceiling or walls.
Drywall vs. Other Wall Materials: Choosing the Best Option for Your Home”
Drywall: The Versatile Classic
Pros:
- Affordability: Drywall is cost-effective and readily available in most markets.
- Ease of Installation: It’s relatively easy to install, making it a preferred choice for DIY enthusiasts.
- Smooth Finish: Drywall offers a smooth surface that’s easy to paint or texture.
- Fire Resistance: It provides some level of fire resistance, enhancing safety.
Cons:
- Vulnerability: The Drywall is susceptible to water damage, requiring immediate repairs or replacement in case of leaks or flooding.
- Limited Insulation: It doesn’t provide significant insulation properties.
Plaster: The Time-Tested Option
Pros:
- Durability: Plaster is exceptionally durable and can last for decades if properly maintained.
- Sound Insulation: It offers better soundproofing compared to Drywall.
- Customization: Plaster can be intricately molded for unique designs and patterns.
Cons:
- Cost: Plaster can be more expensive than Drywall due to labor and material costs.
- Skilled Labor: Installation and repair often require experienced professionals.
- Time-Consuming: The application process is time-consuming compared to Drywall.
- Wood Paneling: The Rustic Charm
Concrete: The Industrial Option
Pros:
- Strength: Concrete walls are solid and durable.
- Fire Resistance: They offer excellent fire resistance.
- Low Maintenance: Concrete requires minimal maintenance.
Cons:
- Cost: Initial construction costs can be high.
- Lack of Flexibility: Concrete walls are challenging to modify once in place.
- Insulation: Concrete alone doesn’t provide significant insulation.
- Brick: The Timeless Classic
Essential Drywall Tools for Beginners: A Comprehensive Guide”
It’s used for cutting drywall sheets, trimming edges, and making precise cuts around outlets, switches, and other fixtures. Opt for a retractable utility knife with replaceable blades for convenience.
T-Square
A T-square is essential for flowering straight and precise cuts on your drywall sheets. It helps you create clean, even lines crucial for a seamless finish. Look for one with a sturdy aluminum or steel construction for durability.
Drywall Saw
A drywall or jab saw is used to cut openings in Drywall for electrical boxes, plumbing fixtures, and other protrusions. Its sharp, pointed blade allows for easy penetration and clean cuts.
Screw Gun
Screwing Drywall into place requires speed and accuracy, and a screw gun is the perfect tool. It allows you to drive screws quickly and consistently, ensuring a secure attachment of the Drywall to the studs.
Drywall Taping Knife
Taping knives come in various sizes, but for both, a 12-inch taping knife should suffice. These for beginners apply joint compound (mud) to the seams between drywall sheets, creating a smooth and seamless surface.
Mud Pan
A mud pan is a shallow, flat container to hold and mix joint compounds. It’s an indispensable tool for applying mud with your taping knife. Look for one with a metal or plastic construction for easy cleanup.
Corner Trowel
Creating crisp, clean corners can be challenging, but a corner trowel simplifies the task. It helps you apply joint compound to inside and outside corners, producing professional-looking results.
Sanding Tools
After the joint compound has dried, sanding is necessary to achieve a smooth finish. Invest in both a sanding block and sandpaper with various grits (from coarse to fine) to achieve the desired smoothness.
Drywall Lift (Optional)
For ceiling installations or when working alone, a drywall lift can be a game-changer. It holds the drywall sheet in place, allowing you to secure it quickly without assistance. While optional, it can save time and reduce strain.
Safety Gear
Remember to prioritize safety. Invest in safety gear such as safety glasses, a dust mask, and hearing protection to protect yourself from dust, debris, and noise.
Conclusion
A drywall saw is an indispensable tool in construction and home improvement. Its unique design, characterized by a sharp, pointed blade and serrated edges, makes it ideal for efficiently cutting through Drywall and other thin materials.
So, the next time you embark on a project involving Drywall, include a drywall saw in your arsenal, as it will save you time and effort while ensuring a job well done.