
If you’ve ever found yourself pondering the question, “What size is a #7 drill bit?” you’re in good company. The world of drill bits can be a bit mystifying, especially when they’re labeled with numbers like “#7.”
But fear not, for in this guide, we will unravel the enigma surrounding the #7 drill bit size, making it accessible and understandable for your DIY projects. Whether you’re a seasoned DIY aficionado or just starting to wield your toolbox, let’s explore the universe of drill bits and decode the dimensions of a #7 drill bit.
Drill Bit Basics
Before we dive into the specifics of the #7 drill bit, let’s lay down some essential groundwork about drill bits:
Types of Drill Bits
- Twist Drill Bits: These versatile bits are your all-around drill companions, suitable for wood, metal, and plastic. They come with spiral flutes to whisk away debris as you bore.
- Masonry Bits: Designed for the tough materials like concrete, brick, and stone, masonry bits sport carbide tips for extra durability.
- Spade Bits: These flat, paddle-shaped wonders are ideal for drilling large holes in wood. They’re speedy but might leave a bit of roughness in their wake.
- Forstner Bits: Precision is the name of the game for these bits, perfect for crafting clean, flat-bottomed holes in wood. Woodworkers adore them for cabinetry and furniture making.
- Hole Saw Bits: For when you need to cut sizable holes in wood, plastic, or metal, hole saw bits are your trusty companions. They’re like circular blades with teeth.
- Step Bits: Cone-shaped and versatile, step bits excel at drilling holes of various sizes in thin materials like sheet metal and plastic.
- Countersink Bits: If you’re looking to create those recessed holes for screw heads, turn to countersink bits—woodworkers’ best pals.
- Auger Bits: Picture long, spiral bits perfect for drilling deep holes in wood. They’re the workhorses of construction and carpentry.
Drill Bit Materials
- High-Speed Steel (HSS): These are the go-to for twist drill bits, suitable for wood, metal, and plastic.
- Carbide: Masonry bits and specialty bits often flaunt carbide tips, known for their superhuman hardness, capable of piercing concrete and stone.
- Cobalt: A blend of HSS and cobalt results in heat-resistant bits, ideal for drilling through tough metals like stainless steel.
- Titanium Nitride (TiN) Coating: Many bits receive a TiN coating for enhanced durability and reduced friction, making them excellent for metal drilling.
- Black Oxide Coating: This coating offers corrosion resistance and reduced friction, making it a popular choice for general-purpose drilling.
Bit Size
Drill bits come in a multitude of sizes, typically measured in fractions of an inch or millimeters. Standard sizes encompass 1/4 inch (6.35 mm), 3/8 inch (9.53 mm), and 1/2 inch (12.7 mm).
Shank Size
The shank is that part of the drill bit that nestles snugly into your drill’s chuck. Some bits sport a reduced shank, allowing them to fit into smaller chucks.
Specialty Bits
Special tasks require special tools. There are bits designed for specific missions, such as hole saw bits for making large holes, step bits for drilling multiple hole sizes, and countersink bits for crafting those recessed screw holes.
Understanding Drill Bit Numbering
Now that we’ve got the basics under our belt, let’s unravel the mystery of drill bit numbering. This system categorizes and identifies different types and sizes of drill bits, which is crucial when selecting the right bit for your drilling task. Here’s the lowdown on how drill bit numbering operates:
Fractional Sizes:
Many drill bits, including the #7, flaunt fractional sizes. These fractions denote the diameter of the hole that the drill bit will bore.
Decimal Sizes:
In addition to fractions, drill bits often come labeled with their equivalent decimal measurements. For example, a 1/4-inch drill bit may also be marked as 0.25 inches in decimal format.
Letter Sizes:
Some drill bits sport letter designations, typically ranging from A to Z. A is the smallest, and Z is the largest. These letter sizes are often used for wire gauge drill bits and specialty bits.
Number Sizes:
Number sizes are a common way to label drill bits, especially for wire gauge and twist drill bits. Numbers span from #80 (the tiniest) to #1 (the most substantial). As the number ascends, so does the diameter of the drill bit.
Metric Sizes:
In the metric system, drill bits proudly display their diameter in millimeters. For example, a 6.35 mm drill bit is roughly equivalent to 1/4 inch.
Wire Gauge Sizes:
Wire gauge drill bits are the metalworker’s best friend, labeled with wire gauge numbers that correspond to specific diameters based on wire gauge standards.
Fractional-Inch vs. Metric:
While fractional-inch drill bits are standard in the United States, metric drill bits reign supreme in many other parts of the world. Metric sizes are typically labeled in millimeters, such as 5 mm, 8 mm, or 10 mm.
Jobber Length vs. Stub Length vs. Long Length:
Drill bits come in various lengths, including jobber length (standard), stub length (shorter for tight spots), and long length (extended reach). The bit’s length affects drilling depth and accessibility.
Specialty Bits:
Certain specialized drill bits, like step bits or countersink bits, may have unique labeling or numbering systems tailored to their specific functions.
When you’re on the hunt for the perfect drill bit, matching the bit’s numbering or sizing system to your project’s requirements is paramount. Consider factors like the material you’re drilling into and the depth of the hole you need to create. And for specific projects, always refer to the manufacturer’s guidelines for recommended bit sizes and types.
Drill Bit Size Chart
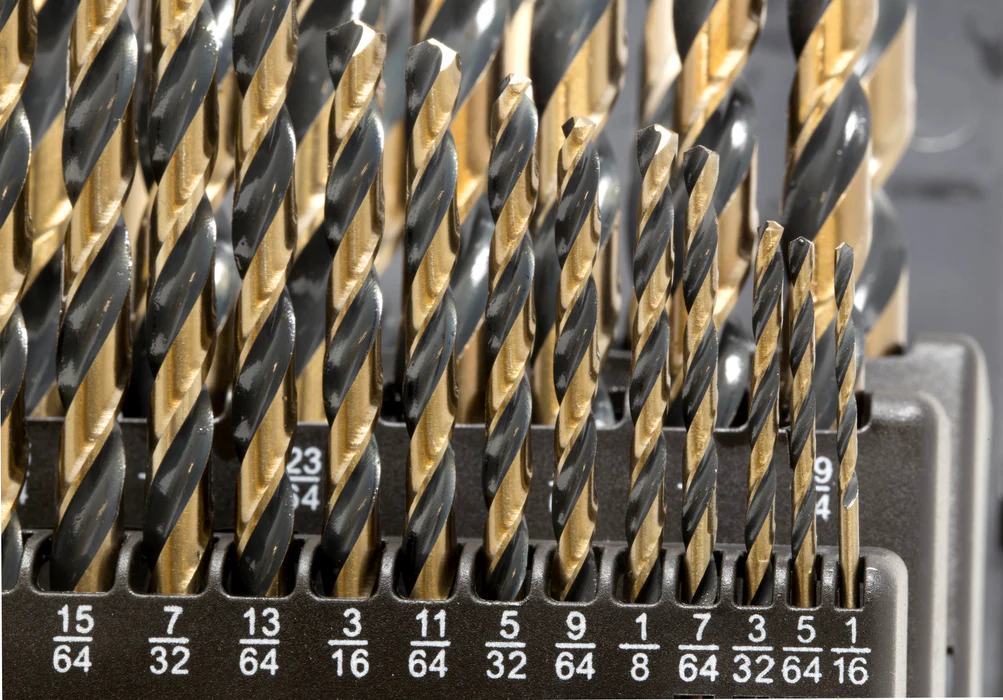
A drill bit size chart is your trusty sidekick when it comes to pairing drill bit sizes with their corresponding fractional, decimal, and metric measurements. This chart simplifies the task of selecting the right drill bit for the job at hand. In our drill bit size chart, you’ll find standard sizes listed in fractional inches, decimal inches, and millimeters.
For instance, a 1/16-inch drill bit equates to 0.0625 inches or roughly 1.59 millimeters. With a comprehensive range from 1/16 inch to 1/2 inch, this chart equips you for a variety of drilling applications, whether you’re working with fractions or metric measurements. Armed with a drill bit size chart, you can confidently and precisely choose the correct bit for your project, be it big or small.
Common Uses for #7 Drill Bits
Now that we’ve demystified the world of drill bits and delved into their numbering system, let’s shine a spotlight on the #7 drill bit. These bits, though relatively small, are incredibly versatile and find their calling in a range of precision drilling tasks. Here are some common applications for #7 drill bits:
- Pilot Holes for Screws: #7 drill bits are often deployed to create pilot holes for screws, especially when dealing with hardwood or other dense materials. A pilot hole helps prevent wood from splitting when the screw is driven in.
- Installing Small Hardware: They’re ideal for drilling holes to install small hardware components, such as hinges, drawer pulls, and knobs on cabinets and furniture.
- General Woodworking: #7 drill bits are adaptable and can be used for various carpentry tasks, including joinery, doweling, and creating clearance holes for bolts and screws.
- Crafts and DIY Projects: These bits are a handy companion for crafting and DIY endeavors involving wood, plastic, or lightweight metals. Whether you’re crafting picture frames, assembling wooden toys, or constructing small structures, #7 drill bits are up to the task.
- Electronics and PCBs: In electronics and printed circuit board (PCB) assembly, #7 drill bits come into play, creating small holes for component leads or wire connections.
- Model Making: Model makers frequently employ #7 drill bits to drill holes in miniature models, be it for architectural models, railroads, or tabletop gaming.
- Jewelry Making: In the realm of jewelry making, #7 drill bits shine by creating precise holes for attaching clasps, jump rings, and other small components.
- Hobbyist Projects: From crafting model airplanes and boats to building dioramas, where precision drilling is paramount, #7 drill bits are your trusted companions.
- Plastic and Acrylic Work: When it comes to drilling holes in plastic or acrylic sheets, often used in signage, displays, and DIY projects, #7 drill bits get the job done.
- Metalworking: While #7 bits might seem small for metalworking, they can tackle lightweight metal tasks, such as drilling holes in aluminum or thin sheet metal.
It’s worth noting that the specific applications for #7 drill bits may vary depending on the material you’re working with and the nature of your project. Always select the appropriate drill bit for the material and task at hand to ensure clean and accurate holes.
Choosing the Right Drill Bit for Your Project
Selecting the correct drill bit for your project is the key to achieving clean, accurate, and efficient results. Let’s break it down into a step-by-step guide to help you make the right choice:
- Know Your Material: Identify the material you’ll be drilling into, whether it’s wood, metal, concrete, plastic, tile, or masonry. The material significantly influences your drill bit choice.
- Understand the Drill Bit Types: Familiarize yourself with the various types of drill bits available. Common types include twist drill bits (for general drilling), masonry bits (for concrete and brick), spade bits (for wood), and step bits (for drilling multiple hole sizes). Each type is tailored for specific materials and applications.
- Consider Bit Coatings and Materials: Drill bits can be made of various materials, including high-speed steel (HSS), cobalt, and carbide. Different coatings, such as titanium nitride (TiN) or black oxide, offer enhanced durability and heat resistance. Choose the material and coating that best suits your material and project requirements.
- Determine the Hole Size: Measure or determine the required hole size for your project. Drill bit sizes are available in fractional inches, decimal inches, and millimeters. Match the bit size to your desired hole diameter.
- Select the Right Type of Shank: Drill bits come with different shank types, including round and hexagonal. Ensure the shank style matches your drill’s chuck for a secure fit.
- Consider Specialty Bits: For specialized projects, such as countersinking or cutting large holes, you may need speciality bits like countersink drill bits or hole saws. Keep these on hand if your projects call for them.
- Refer to Manufacturer Guidelines: Always check the manufacturer’s recommendations for drill bit selection. Manufacturers often provide guidelines for the type of bit to use with their specific products or materials.
- Safety Considerations: Don’t forget about safety gear when working with power tools and drill bits. Safety glasses, hearing protection, and gloves are essential. Follow safety guidelines to prevent accidents and injuries.
- Test on Scrap Material: If you’re uncertain about the suitability of a drill bit, it’s a good practice to test it on a scrap piece of the same material before diving into your project. This ensures that the bit performs as expected.
- Keep a Variety of Bits: Over time, you’ll accumulate a collection of drill bits for different tasks. Organize them effectively to access the right bit for any project swiftly.
Safety Precautions
Safety should always be your top priority when working with power tools like drills. Here are some critical safety precautions to maintain a secure work environment:
- Read the Manufacturer’s Manual: Start by thoroughly reading and understanding the manufacturer’s manual for your specific drill model. It provides essential safety information and usage instructions.
- Use Safety Gear: Invest in appropriate safety gear, such as safety glasses or goggles to protect your eyes from debris and potential splashes. Use earplugs or earmuffs to preserve your hearing when working in noisy environments.
- Protect Your Hands: Safeguard your hands with work gloves to prevent injuries from sharp edges or hot surfaces. Avoid wearing loose clothing, jewelry, or items that could get entangled in the drill or moving parts.
- Secure Your Workpiece: Prioritize the secure clamping or stabilization of your workpiece to prevent unexpected movement during drilling.
- Inspect Your Drill: Before use, inspect the drill for visible damage, loose components, or signs of wear and tear. Do not use a damaged or malfunctioning drill.
- Correct Cord Handling: If you’re working with a corded drill, regularly inspect the power cord for fraying, cuts, or exposed wires. Replace damaged cords immediately to avoid electrical hazards.
- Wrap Cords Properly: When wrapping up the cord, use a figure-eight or over-under winding technique to prevent kinks and tangles.
- Lubrication: Depending on your drill model, some parts may require lubrication. Follow the manufacturer’s instructions for guidance on lubricating your drill’s moving parts.
Maintenance and Care
Proper maintenance and care for your drill are essential to ensure its longevity, performance, and safety. Here’s a guide on how to maintain and care for your drill:
Cleaning:
- Regularly clean the exterior of your drill using a damp cloth or a mild detergent. Always ensure that the drill is unplugged or the battery is removed before cleaning.
- Remove dust and debris from the chuck, trigger, and ventilation ports using a soft brush or compressed air.
Bit Maintenance:
- Keep your drill bits clean and sharp. Dull bits can lead to overheating and inefficient drilling.
- If your bits become clogged with material residue, clean them using a wire brush or a bit-cleaning solution. For HSS or metal bits, consider using a specialized bit sharpening tool to maintain their edge.
Chuck Care:
- Periodically inspect the drill chuck for any signs of wear, damage, or rust. Lubricate the chuck if it has a keyless design with a light machine oil.
- For drills with a keyed chuck, ensure that the chuck key is always properly stored and easily accessible.
Battery Maintenance (For Cordless Drills):
- Charge cordless drill batteries before they are entirely depleted to prolong their lifespan.
- Store batteries in a cool, dry place away from direct sunlight and extreme temperatures.
- If you won’t be using your cordless drill for an extended period, partially charge the batteries and recharge them every few months to prevent them from fully discharging.
Cord Care (For Corded Drills):
- Inspect the power cord regularly for fraying, cuts, or exposed wires. Replace damaged cords immediately to avoid electrical hazards.
- When winding up the cord, use a figure-eight or over-under winding technique to prevent kinks and tangles.
Lubrication:
- Depending on your drill model, some parts may require lubrication. Refer to the manufacturer’s instructions for guidance on lubricating your drill’s moving parts.
Storage:
- Store your drill in a dry, climate-controlled environment to prevent rust and corrosion.
- If you won’t be using the drill for an extended period, consider removing the battery (if applicable) and storing it separately.
Regular Inspection:
- Conduct periodic inspections of your drill for loose screws, bolts, or other components. Tighten any loose parts as needed to maintain structural integrity.
Conclusion
Determining the size of a #7 drill bit involves understanding the standard sizing system used in the industry. A #7 drill bit corresponds to a specific diameter, which can vary slightly depending on the type of sizing system employed (lettered, numbered, or fractional).
To obtain the exact diameter of a #7 drill bit, it is essential to refer to a drill bit size chart or consult the manufacturer’s specifications, as these can differ among regions and standards.
Understanding drill bit sizes is crucial for precision and accuracy in various drilling applications, ensuring that the right tool is chosen for the job at hand. With this knowledge in your toolkit, you’re ready to tackle your drilling projects with confidence and precision, armed with the right drill bit for every task.
Remember to prioritize safety, follow proper maintenance practices, and enjoy the satisfaction of creating clean and accurate holes in a wide range of materials.