
In the world of woodworking, precision is the linchpin that transforms a mere piece of timber into a work of art. At the heart of this precision lies a tool often whispered about in hushed reverence: the dovetail saw. But what is a dovetail saw used for?
Woodworkers, both seasoned artisans and eager beginners, understand that the dovetail saw is more than just a tool—it’s an instrument of finesse and a key to unlocking the world of intricate joinery. In this exploration, we’ll delve into the captivating realm of dovetail saws, dissecting their purpose, their role in woodworking, and the artistry they enable.
This isn’t merely a discussion of “what is a dovetail saw used for” but a journey into the craftsmanship and innovation that defines the world of woodworking. So, tighten your apron and sharpen your curiosity as we embark on this enlightening exploration of dovetail saws and their indispensable role in woodworking.
Crafting Dovetail Joints
The dovetail saw is not your ordinary hand saw. It is purpose-built for one task – cutting dovetails with precision. Here’s why it’s an indispensable tool in any woodworker’s arsenal:
1. Fine Teeth for Precision
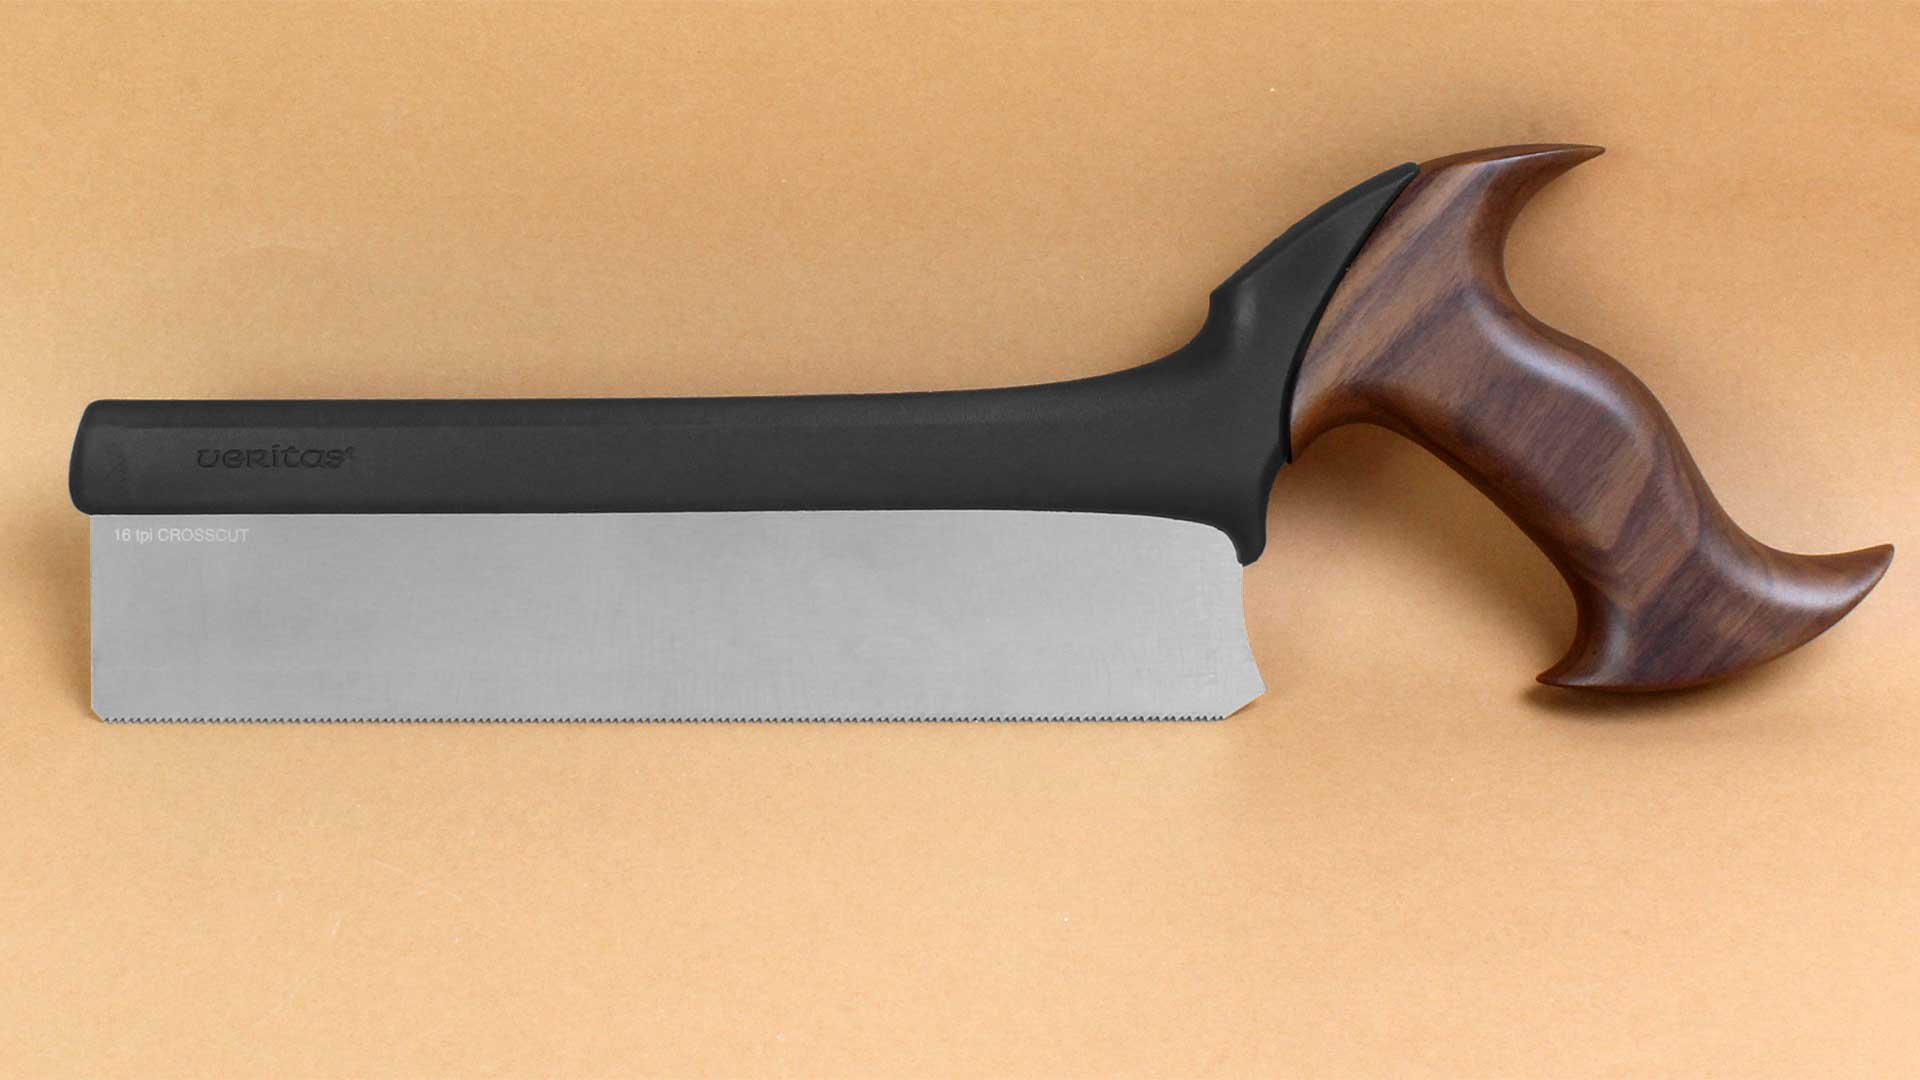
Dovetail saws feature fine teeth, typically ranging from 14 to 17 teeth per inch (TPI). This high tooth count allows intricate, controlled cuts, ensuring that your dovetail joints fit together seamlessly.
2. Thin and Flexible Blade
The thin and flexible blade of a dovetail saw is designed for navigating tight spaces and making precise cuts. This flexibility enables you to follow the contours of your dovetail layout without straying from the lines.
3. Rip-Cut Orientation
Dovetail saws are optimized for rip-cutting, which means they excel at cutting along the grain of the wood. This is essential for achieving clean, straight cuts in dovetail joints.
4. Ergonomic Handle for Comfort
Many modern dovetail saws have ergonomic handles that reduce hand fatigue during extended use.
Step-by-Step Guide to Using a Dovetail Saw
Now that you understand the value of a dovetail saw let’s delve into the steps for using it effectively to craft dovetail joints:
Step 1: Mark Your Dovetails
Begin by marking the location of your dovetails on both pieces of wood you intend to join. Use a dovetail marking gauge or template to ensure precise spacing and alignment.
Step 2: Secure Your Workpiece
Secure your workpiece in a vise or clamp to prevent movement during the cutting process. Stability is crucial for making accurate cuts.
Step 3: Start Cutting
With your dovetail saw in hand, carefully follow the marked lines on your wood. Remember to cut along the waste side of the lines. Take your time, and use gentle, controlled strokes.
Step 4: Remove the Waste
After making the initial cuts, use a coping saw or chisel to remove the waste material between the tails. Patience and attention to detail are vital at this stage.
Step 5: Test the Fit
Once you’ve completed the cuts and removed the waste, it’s time to test the fit of your dovetail joints. They should slide together snugly without excessive force.
Step 6: Assemble and Glue
Apply glue to the joint surfaces and carefully assemble your dovetail joint. Utilize clamps to hold the pieces together while the glue dries. This ensures a robust and lasting bond.
Enhancing Structural Integrity
In the realm of woodworking, precision and craftsmanship are paramount. A master woodworker’s arsenal is filled with various tools, each with a specific purpose and technique. Among these tools, the dovetail saw is a testament to the skill and artistry required to create impeccable joints.
This comprehensive guide delves into the world of dovetail saws, uncovering the secrets to enhancing structural integrity through their use. Whether you are a seasoned woodworker or a novice, join us as we explore the nuances of this essential tool and how it can elevate your woodworking projects.
The Dovetail Saw: A Masterpiece of Precision
The dovetail saw, a specialized handsaw designed for intricate joinery, is characterized by its thin blade, fine teeth, and reinforced spine.
This tool excels at creating dovetail joints, a hallmark of craftsmanship and strength in woodworking. Its slender profile allows for unparalleled control and accuracy, making it an indispensable companion for woodworkers striving for perfection in their projects.
The Anatomy of a Dovetail Saw
To fully grasp the potential of the dovetail saw, let’s dissect its anatomy:
1. Blade: The blade is the heart of the dovetail saw. It is typically thin, rigid, and narrow, allowing precise cuts in tight spaces.
2. Teeth: Dovetail saws have finely spaced teeth, ranging from 14 to 20 per inch (TPI). This exemplary tooth configuration ensures clean and splinter-free cuts.
3. Back or Spine: The back or spine of the saw provides stability and rigidity, reducing the chances of the blade flexing during cuts.
4. Handle: Ergonomically designed handles offer a comfortable grip and facilitate controlled movements.
5. Depth Stop: Some dovetail saws feature a depth stop that allows for consistent and uniform cutting depth, essential for creating perfect dovetail joints.
Mastering the Art of Dovetail Joinery
Choosing the Right Dovetail Saw
Selecting the appropriate dovetail saw is crucial to achieving impeccable joinery. Consider the following factors when making your choice:
1. TPI: The number of teeth per inch determines the saw’s suitability for different wood types. Higher TPI is ideal for hardwoods, while lower TPI suits softwoods.
2. Blade Length: Opt for a blade length that matches the size of your projects. A longer blade offers more reach, while a shorter one provides greater control.
3. Tooth Geometry: Dovetail saws have various tooth geometries, such as rip-cut and cross-cutting.
Techniques for Precision Cutting
Achieving the perfect dovetail joint requires finesse and precision. Here are some techniques to master:
1. Marking and Layout: Begin by accurately marking your workpiece. Use a marking gauge and knife for crisp, clear lines that guide your cuts.
2. Start with a V-notch: Initiate your cut with a small V-notch to establish a reference point. This helps maintain alignment throughout the cut.
3. Angle of Attack: Maintain a consistent angle of attack, typically around 10 to 15 degrees, to ensure the dovetail joint’s integrity.
4. Gradual Progression: Take your time and make gradual cuts, following the marked lines. Avoid applying excessive force, as it can lead to inaccuracies.
Creating Drawer and Box Corners
Crafting sturdy and visually appealing corners for drawers and boxes is a fundamental skill in woodworking. One of the critical tools for achieving this is the dovetail saw. This article will explore how to use a dovetail saw effectively to create flawless corners for your drawers and boxes.
Section 1: Preparing Your Workspace
Before creating dovetail joints for your drawers and boxes, setting up your workspace and gathering the necessary materials is essential.
1.1 Workspace Preparation
Ensure you have a clean and well-lit workspace with a sturdy workbench.
1.2 Materials and Tools
For this project, you will need:
- Wood for your drawer or box: Choose high-quality wood that suits your design.
- Dovetail saw: A dedicated dovetail saw with fine teeth for precise cutting.
- Marking tools: Pencils, marking gauges, and a square for accurate measurements.
- Chisels: Sharp chisels for removing waste material.
- Clamps: To secure your workpieces during cutting.
Section 2: Cutting Dovetails for Drawer and Box Corners
Let’s delve into using a dovetail saw to create perfect corners for your drawers and boxes.
2.1 Marking Your Workpieces
Begin by marking your wood pieces where you want the dovetail joints. Use a pencil and a square to ensure precise markings. You’ll typically mark the tail and pin boards separately, considering which piece will have tails and pins.
2.2 Cutting the Tail Boards
- Secure the tail board vertically in your vise or workbench.
- Use your dovetail saw to make precise cuts along the marked lines for the tails. Remember to cut slightly inside the lines to allow for fine-tuning later.
- Make straight cuts for the edges of the tails and angled cuts for the sides.
- Use chisels to remove the waste material between the tails, creating clean, sharp edges.
2.3 Cutting the Pin Boards
- Secure the pin board horizontally in your vise or workbench.
- Use your dovetail saw to make precise cuts along the marked lines for the pins. These cuts should match the angles of the tails on the tail board.
- Chisel the waste material between the pins, creating a snug fit with the tails.
2.4 Dry Fit and Fine-Tuning
Before final assembly, do a dry fit to ensure the joints align correctly. Use a mallet and chisels to adjust for a tight, seamless fit.
Section 3: Final Assembly and Finishing
Once your dovetail joints fit perfectly, you can assemble your drawer or box. Apply wood glue to the joint surfaces, carefully fit the pieces, and secure them with clamps. Allow the glue to dry completely.
After assembly, sand the corners and surfaces to smooth out any imperfections. Finish your project with your choice of stain, paint, or varnish to achieve the desired look.
Precision Joinery
Precision joinery is an essential aspect of fine woodworking, where every joint must be meticulously crafted to ensure strength, durability, and aesthetic appeal. Among the various tools employed in this craft, the dovetail saw stands out as a crucial instrument for achieving impeccable joints.
The Dovetail Saw: An Overview
The dovetail saw is a specialized hand saw designed for making precise and clean cuts in wood. It derives its name from its primary function: cutting dovetail joints. These joints are renowned for their strength and aesthetics, making them a staple in fine woodworking, particularly furniture making and cabinetry.
Key Features of a Dovetail Saw:
Thin Blade: A dovetail saw typically features a thin blade with fine teeth. This design allows for narrow, precise cuts without excessive material removal.
High Tooth Count: Dovetail saws have a high tooth count per inch (TPI), often ranging from 14 to 20 TPI. This high tooth count contributes to smoother cuts and greater accuracy.
Backed Blade: Some dovetail saws have a stiffening strip along the back of the blade. This feature helps maintain blade rigidity, preventing bending during cuts.
Applications in Precision Joinery
Dovetail Joints: The primary purpose of a dovetail saw is to cut dovetail joints. These joints are widely used in woodworking for their exceptional strength and elegant appearance. Dovetail joints are commonly found in drawer construction, providing sturdy and attractive connections between the front and sides of drawers.
Half-Blind Dovetails: In cabinetry and fine woodworking, half-blind dovetail joints are often preferred when concealing the joint’s end grain is necessary. The dovetail saw excels at cutting the acceptable angles required for creating these joints.
Through Dovetails: When the joint’s ends are visible, through dovetails are the go-to choice. The dovetail saw is instrumental in creating these exposed joints, which showcase the craftsman’s skill and attention to detail.
Precision Miter Joints: While dovetail saws are designed primarily for dovetail joints, their fine teeth and precise cutting ability make them suitable for cutting miter joints with great accuracy.
Fine Detail Work: Beyond traditional joinery, the dovetail saw is a versatile tool for intricate and delicate cuts in wood. This makes it valuable for crafting decorative inlays, marquetry, and other ornamental elements in woodworking.
Crafted Aesthetics
The dovetail saw is a fundamental tool in the realm of crafted aesthetics. Its elegant design and precision make it an indispensable instrument for artisans who prioritize form and function.
In the hands of a skilled craftsman or craftswoman, the dovetail saw is not merely a tool but an extension of their artistic vision. Its fine teeth and slender blade allow for intricate and delicate cuts, creating joints that are as visually appealing as they are structurally sound.
Crafted aesthetics often require seamless integration of components, and the dovetail saw excels in this regard. Whether crafting fine furniture, decorative boxes, or custom cabinetry, the saw’s ability to cut precise, interlocking dovetail joints elevates the quality and beauty of the finished piece.
Using a dovetail saw is a testament to the artisan’s dedication to their craft. Each stroke of the saw requires a steady hand and a discerning eye as the craftsman or craftswoman guides the blade along carefully marked lines. The result is a functional joint and a work of art where the dovetails are structurally sound and visually pleasing.
Furthermore, the dovetail saw’s timeless design and craftsmanship contribute to the overall aesthetics of the workshop. Its polished wooden handle, sharp steel blade, and meticulous attention to detail reflect the values of precision and beauty that are at the heart of crafted aesthetics.
Hand Tool Traditions
In the world of woodworking, where craftsmanship and tradition are held in high regard, few tools are as revered as the dovetail saw. This iconic hand tool is an essential companion for woodworkers who are dedicated to the timeless art of hand tool craftsmanship.
In this guide, we will delve into the nuances of using a dovetail saw within the context of hand tool traditions, where precision and skill take center stage.
The Time-Honored Technique
Now, let’s explore the time-honored technique of using a dovetail saw within the realm of hand tool traditions:
Step 1: The Initial Markings
Begin by meticulously marking the location of your dovetails on your workpiece. Traditional woodworkers often employ precision tools like dovetail markers or dividers to ensure accuracy in spacing and alignment.
Step 2: Secure Your Workpiece
In keeping with tradition, secure your workpiece in a vise or clamp, paying careful attention to stability. A steady foundation is vital to achieving the precision expected in hand tool craftsmanship.
Step 3: The Art of Sawing
With your dovetail saw in hand, commence the delicate task of sawing. Follow the marked lines with unwavering focus, staying true to the age-old tradition of craftsmanship that values patience and precision.
Step 4: Meticulous Waste Removal
Traditional woodworkers often rely on coping saws or hand chisels for meticulously removing waste material between the dovetail tails. Every stroke and cut is a tribute to the dedication to detail that characterizes hand tool traditions.
Step 5: The Fitting Ritual
Upon completing the cuts and waste removal, conduct the time-honored fitting ritual. The dovetail joints should glide together with a snug fit, a testament to the masterful use of the dovetail saw.
Step 6: The Bonding of Tradition
Embrace tradition further by applying wood glue to the joint surfaces. Assemble your dovetail joint with care, honoring the woodworking traditions passed down through generations. Secure the pieces with clamps, creating a bond that embodies the spirit of hand tool craftsmanship.
The Dovetail Saw: A Testament to Tradition
The dovetail saw, often considered a masterpiece of tool design, embodies the essence of hand tool traditions. Crafted with meticulous attention to detail, it has retained its relevance and importance throughout centuries of woodworking.
Dovetail Saws in Woodworking Education: Crafting Excellence
In the realm of woodworking education, precision and mastery are paramount. Whether novices or seasoned artisans, aspiring woodworkers embark on a journey to learn the artistry and techniques that result in impeccable craftsmanship.
Among the myriad tools that populate the woodworking workshop, the dovetail saw stands out as an essential instrument for crafting exceptional joinery and a deep understanding of woodworking principles. In this comprehensive guide, we explore the pivotal role of dovetail saws in woodworking education, shedding light on how these tools shape the future of wood artisans.
The Dovetail Saw: A Learning Companion
Unlocking the Potential of Dovetail Saws
The dovetail saw, with its slender blade and fine teeth, represents precision and control in woodworking. In education, it is a gateway tool for learners to grasp fundamental woodworking concepts.
Final Wording
The dovetail saw is a testament to the artistry and precision of woodworking. Its role in crafting robust dovetail joints, enhancing structural integrity, and adding a touch of hand-crafted elegance to projects cannot be overstated.
Whether you’re a seasoned woodworker or a beginner, understanding the significance of this tool opens the door to a world of craftsmanship and creativity in the realm of woodworking.